Uniflite Salty Pup Refit
- Gisteppo
- Commodore
- Posts: 1016
- Joined: Fri Jun 22, 2007 11:26 am
- Location: Lake Spokane (Long)
- Contact:
Re: Uniflite Salty Pup Refit
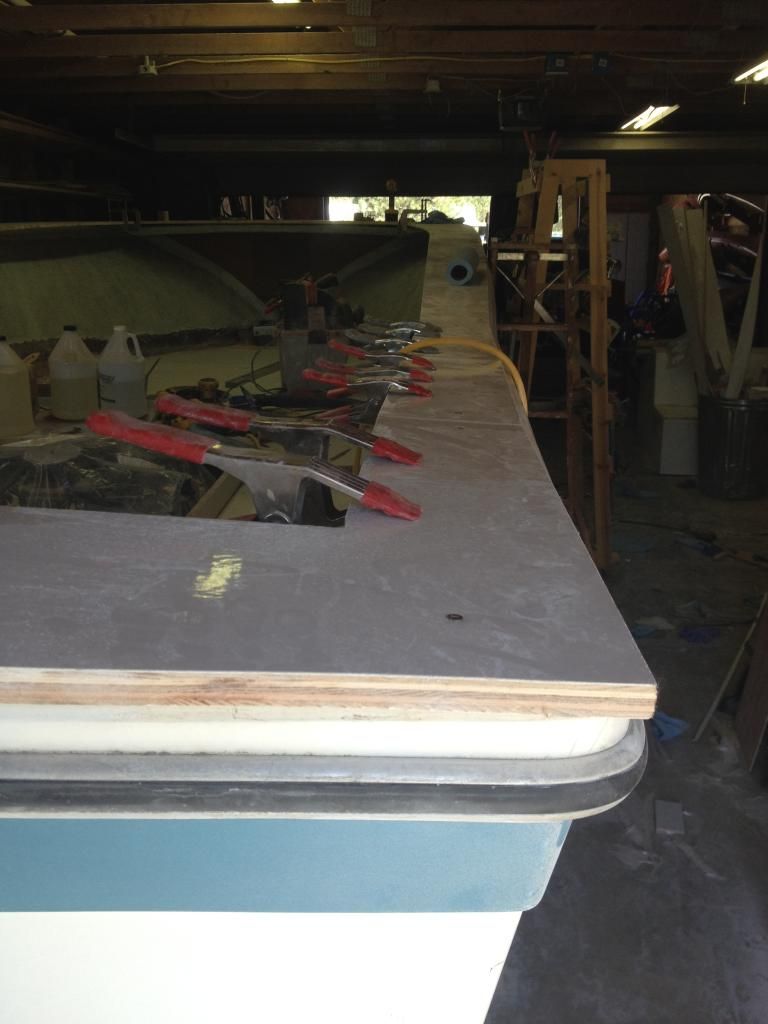
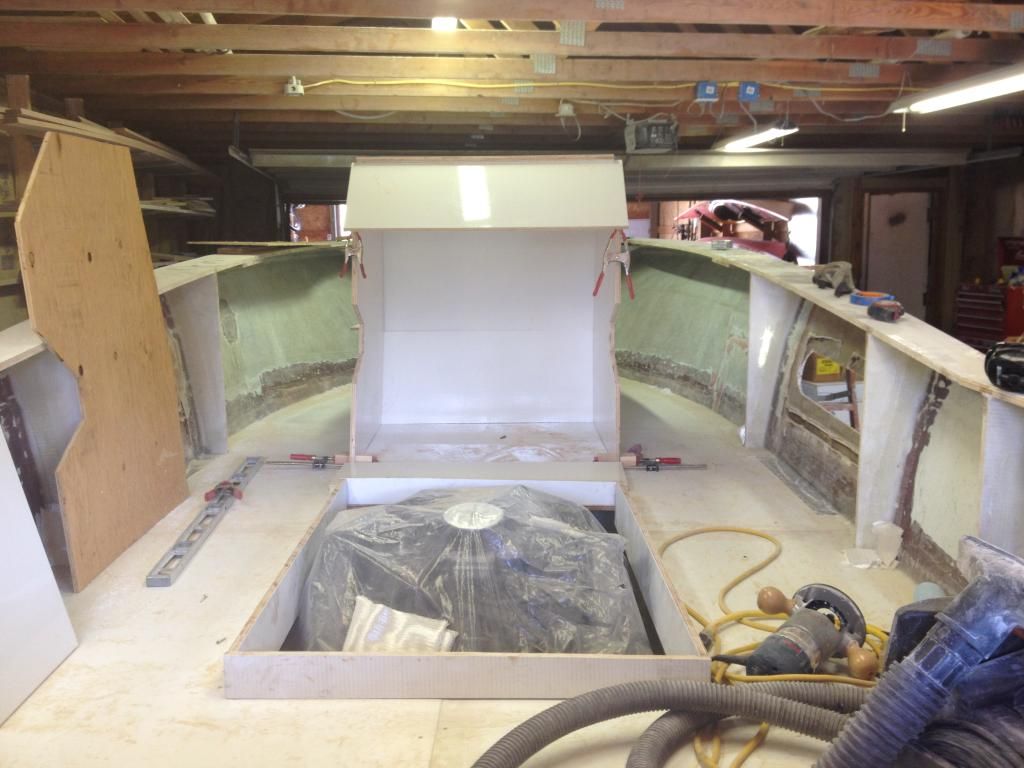
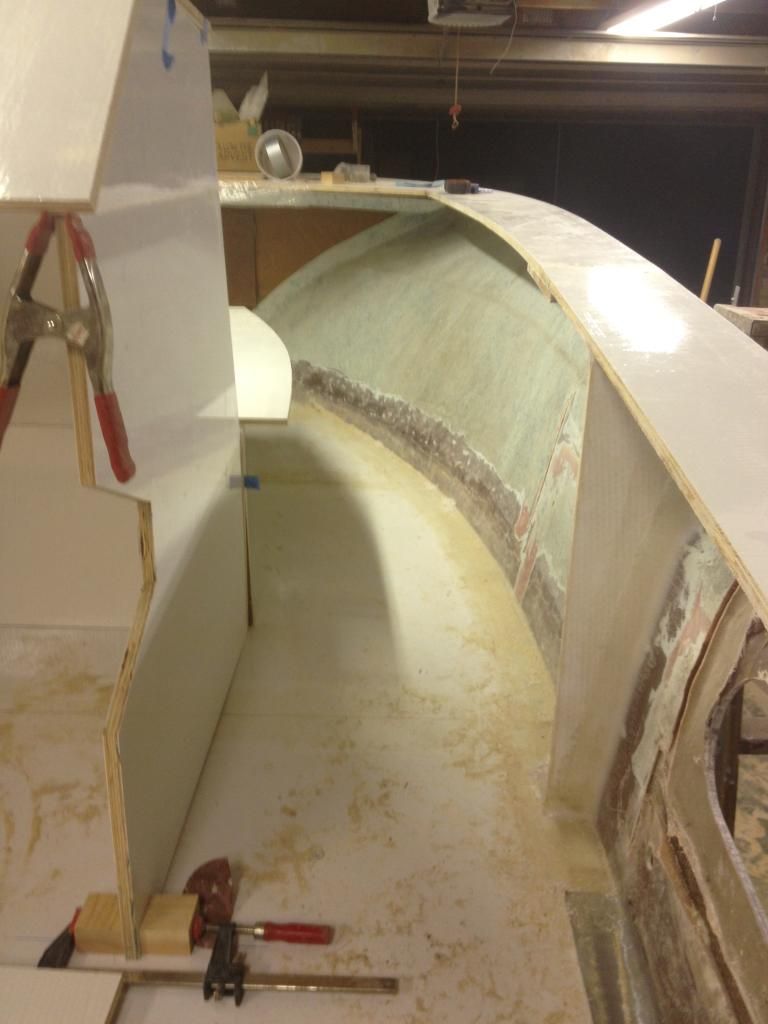
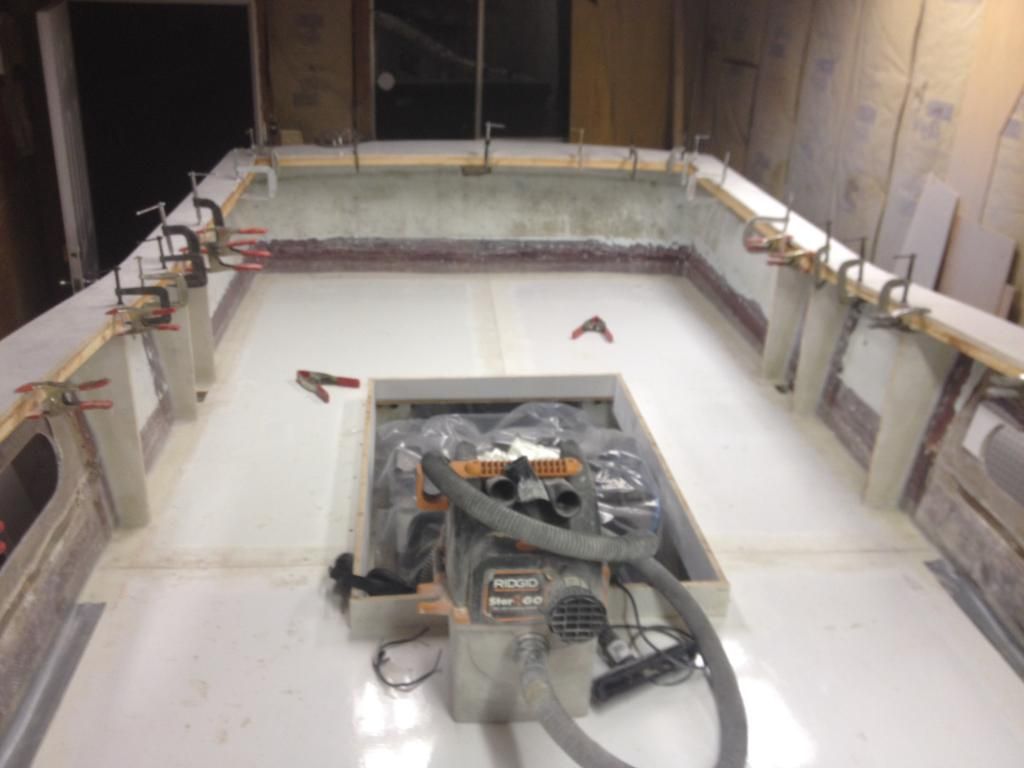
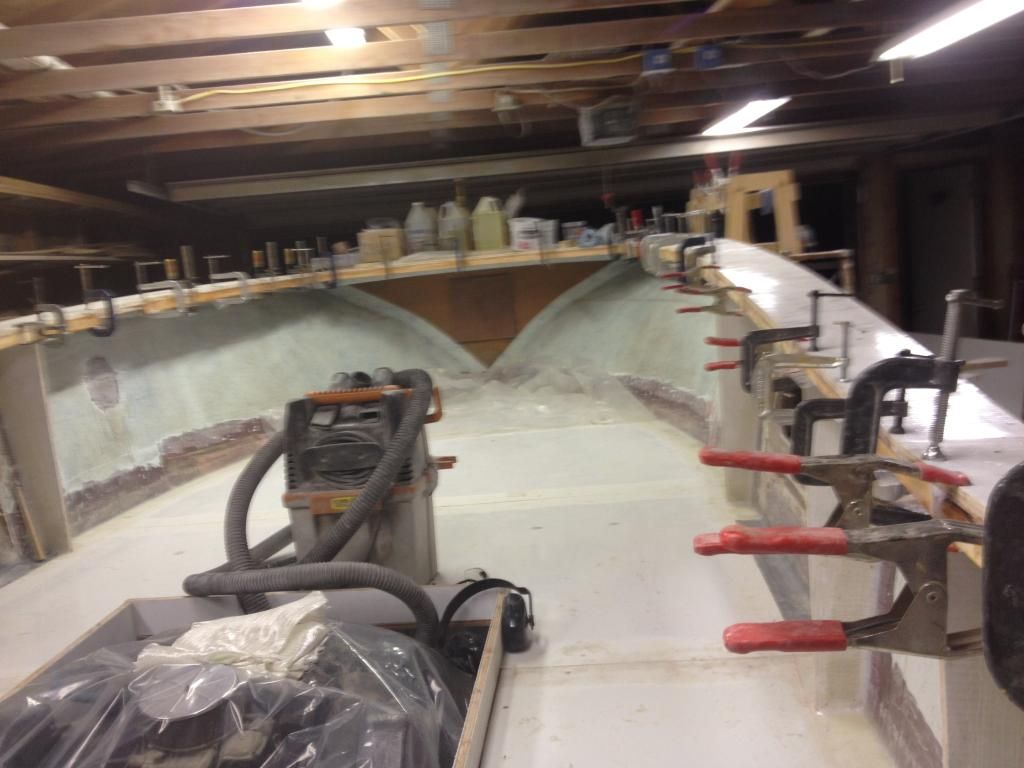
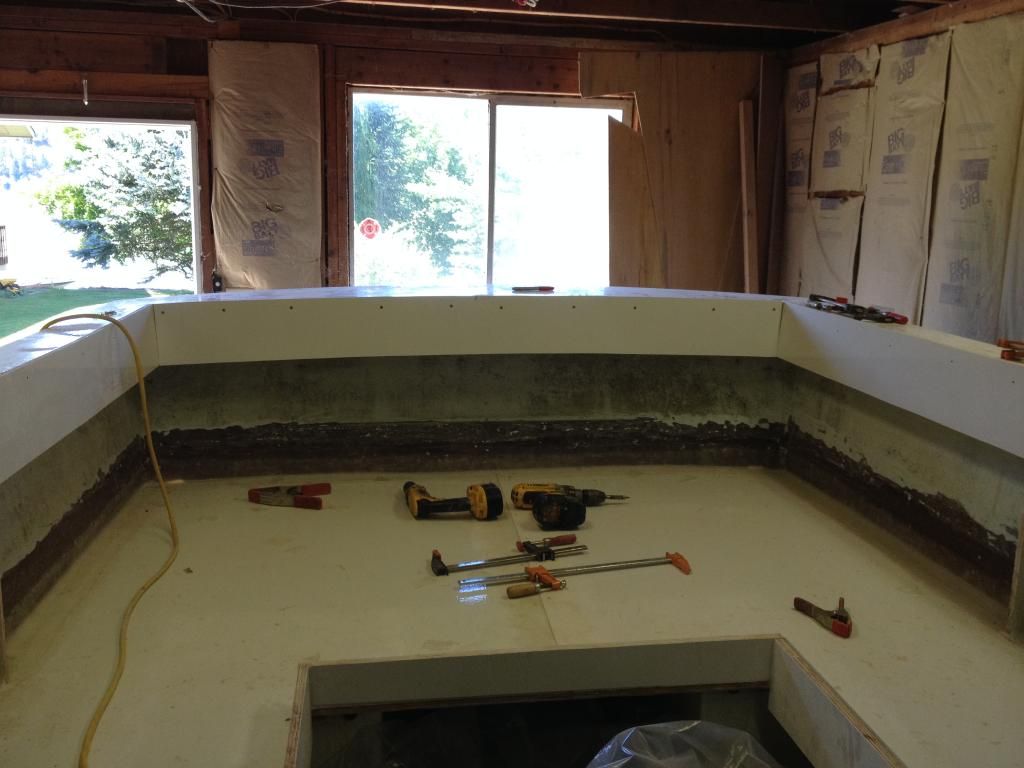
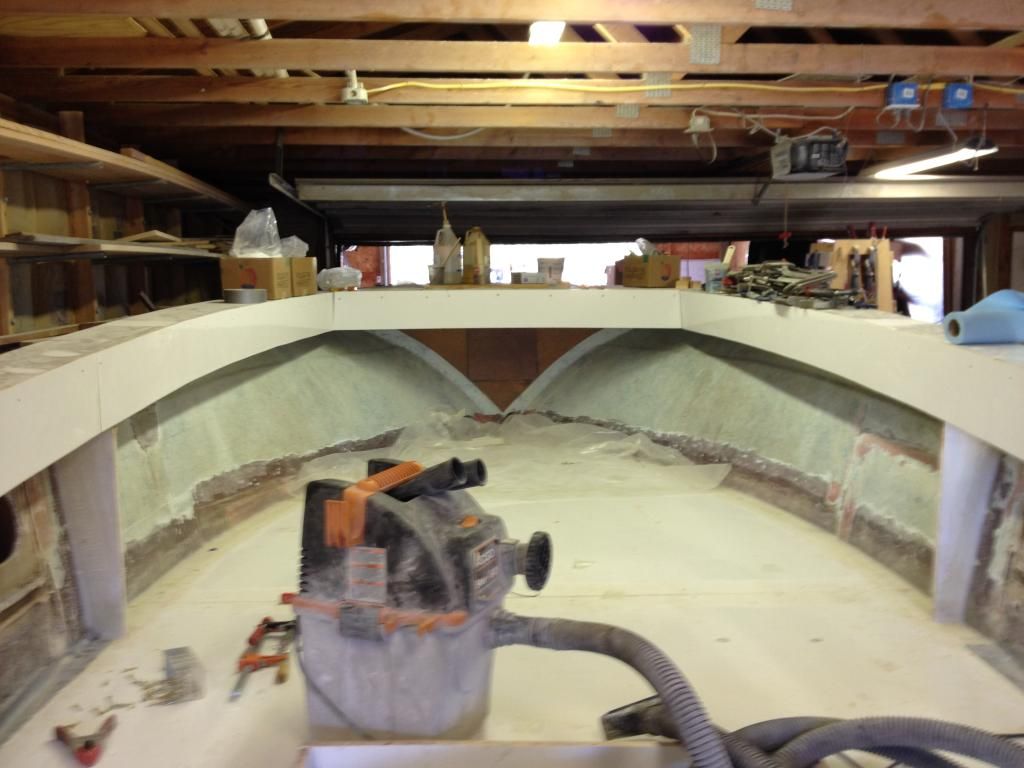
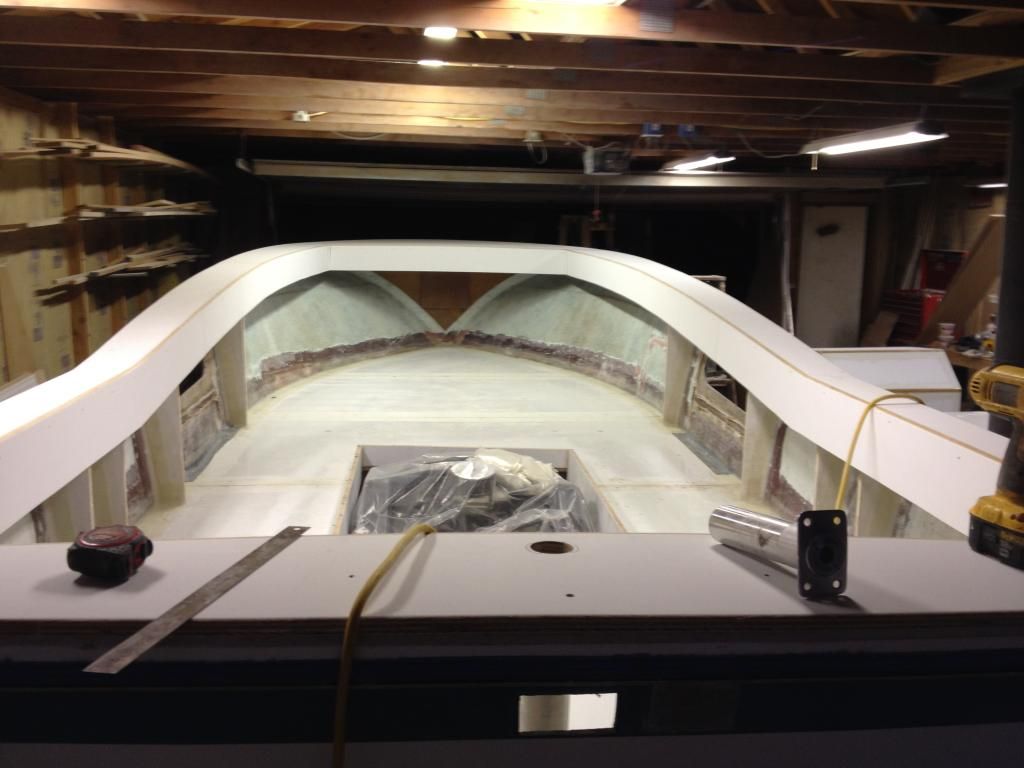
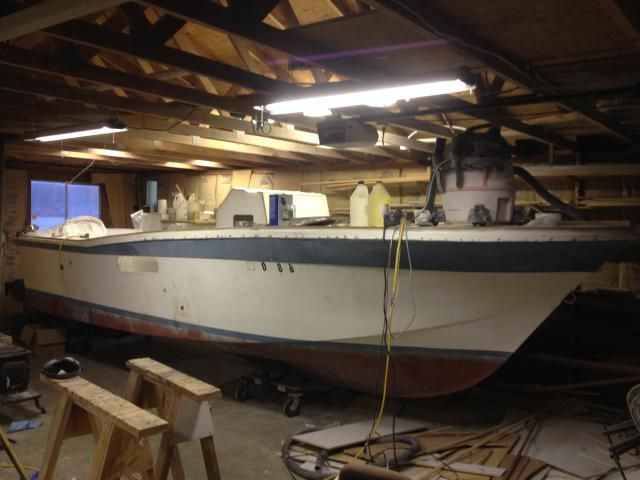
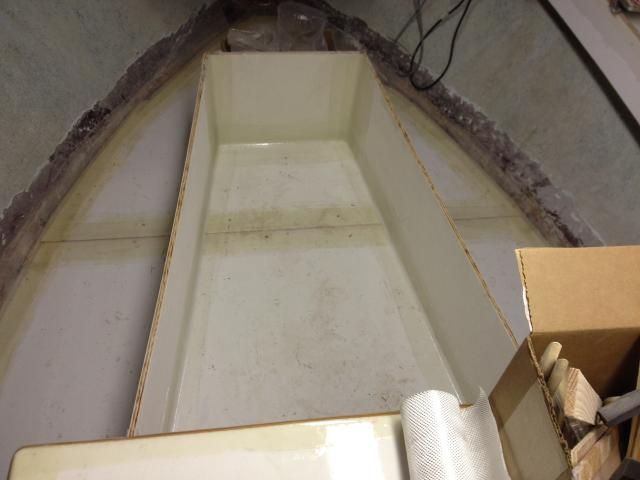
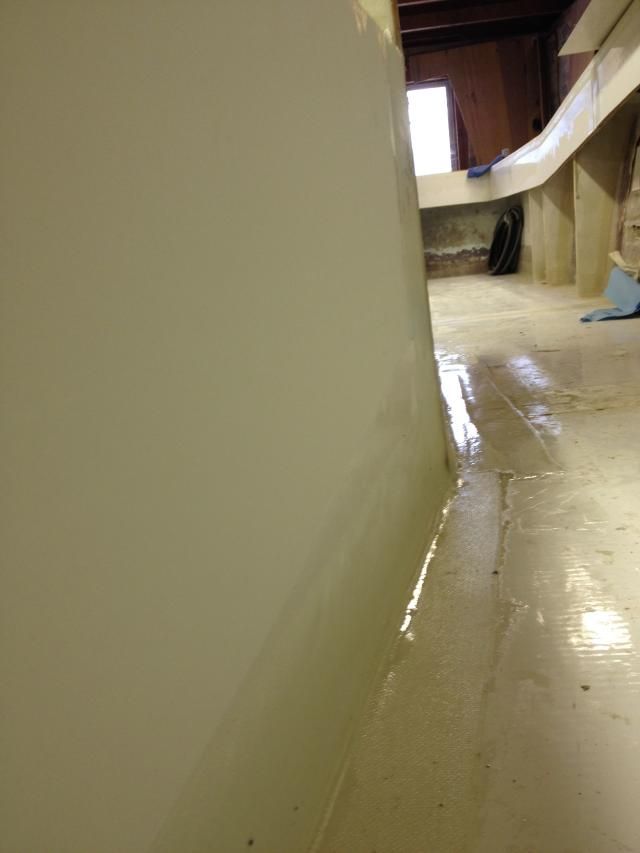
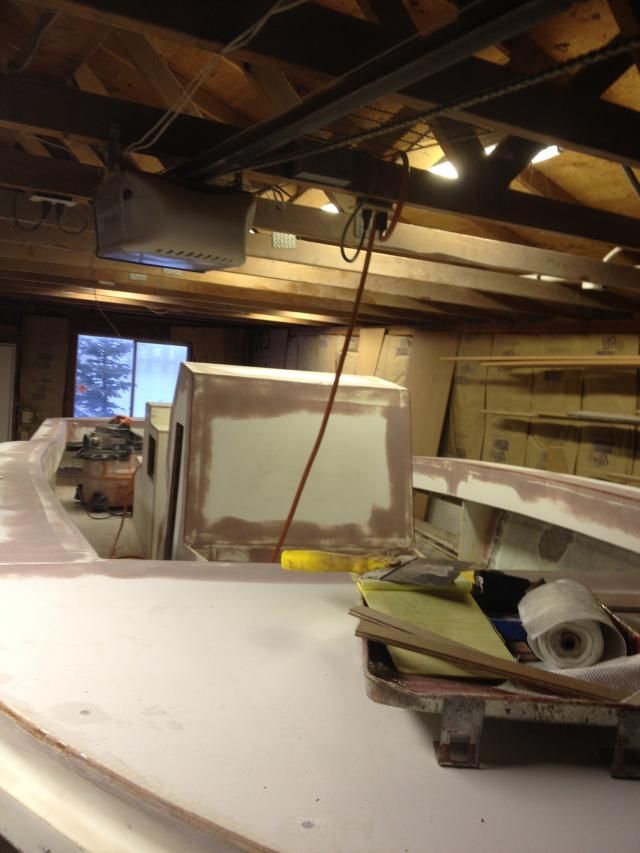
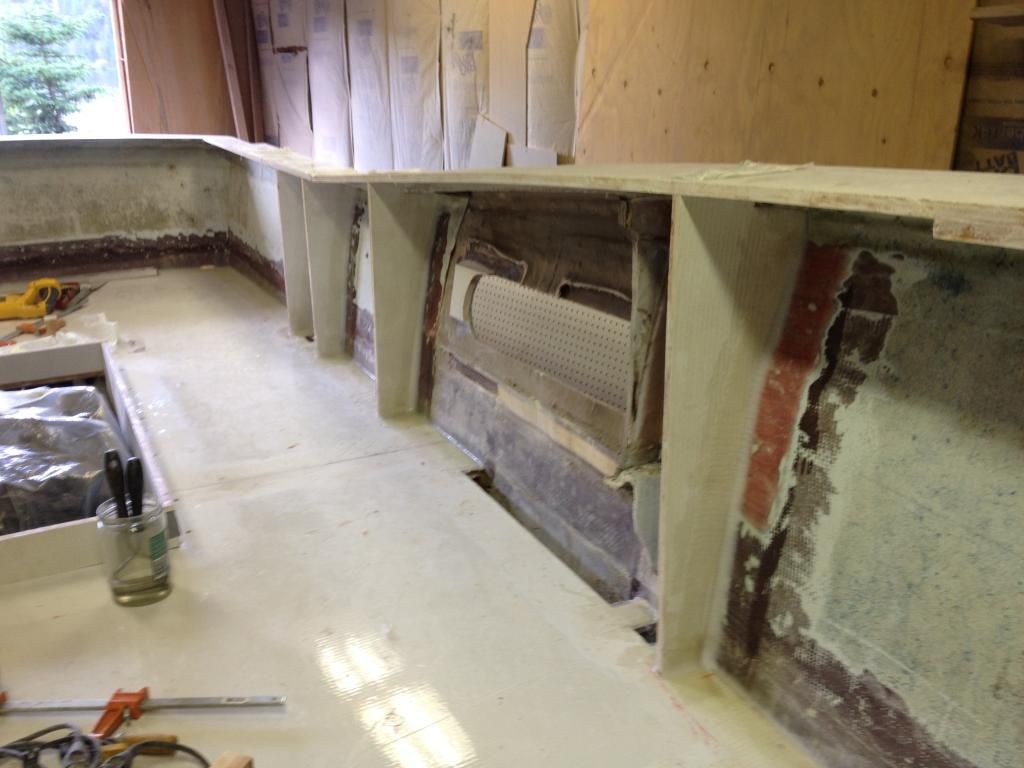
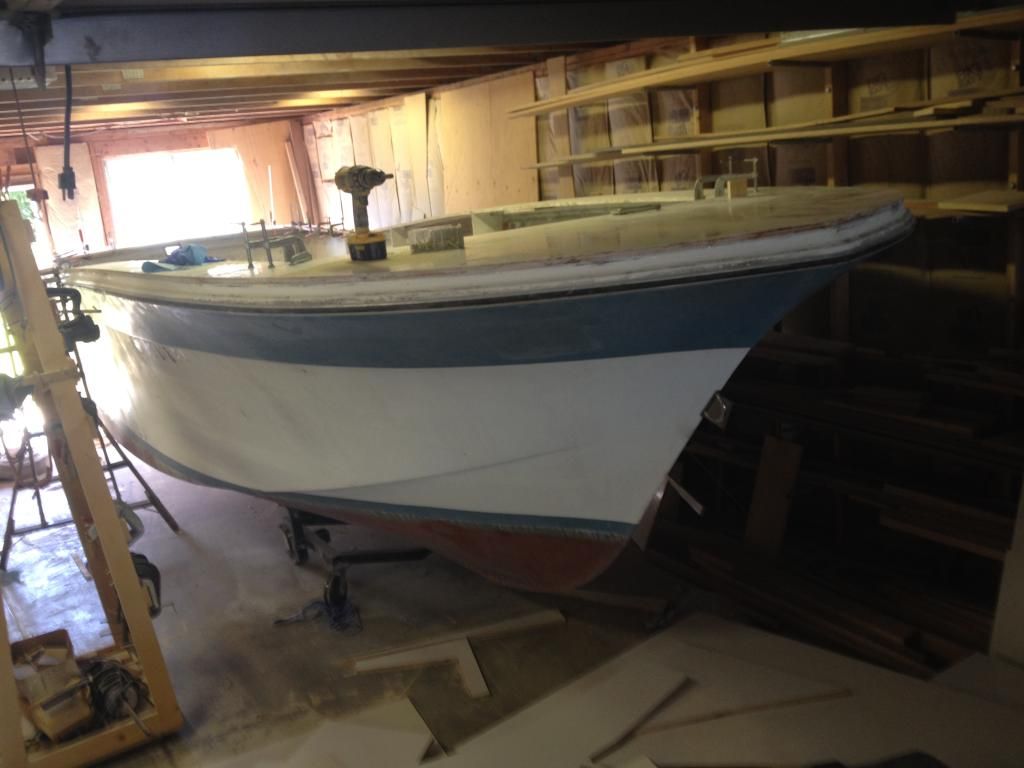
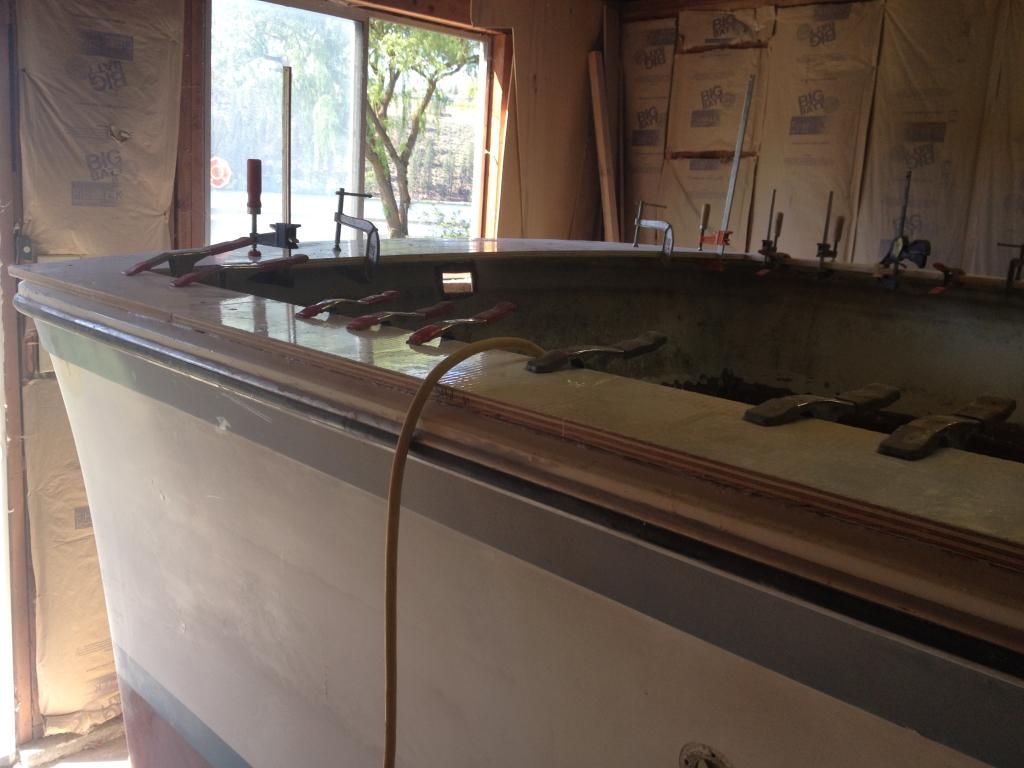
Though not visually all that stimulating for an update, the frames are in, filleted, and glassed as of tonight. 5 hours of labor, itchy forearms, and sticky tools, and you can barely tell a difference in the photos.
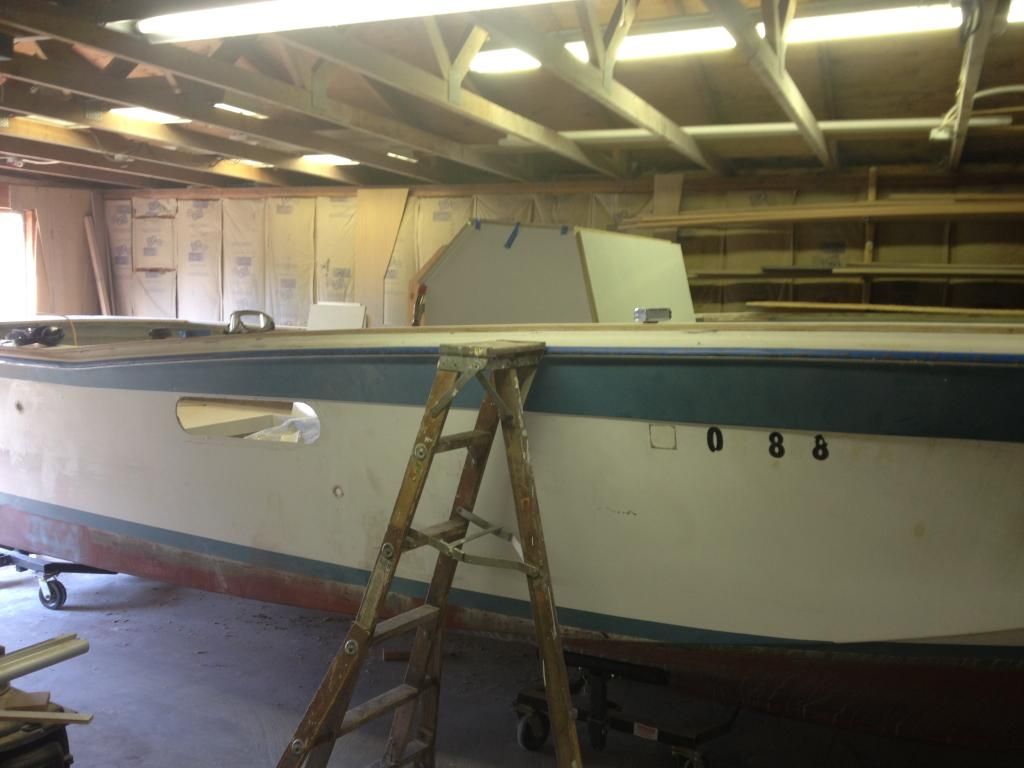
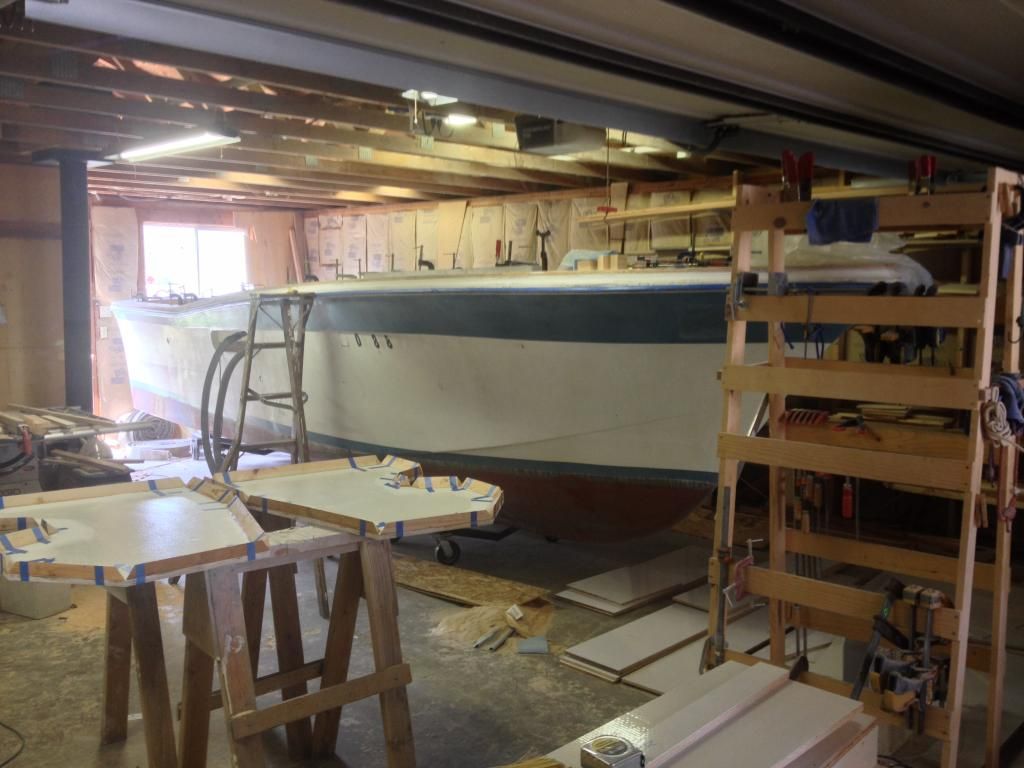
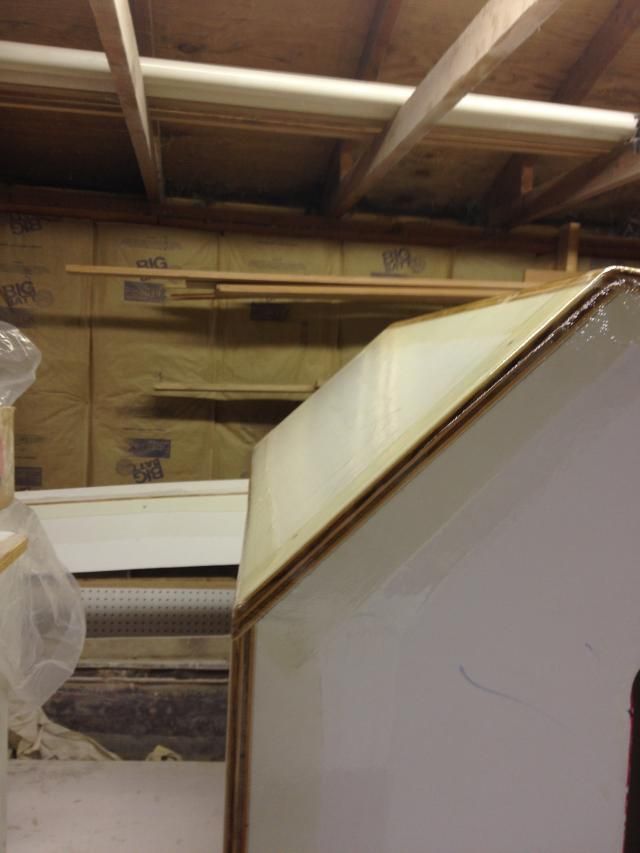
The side decks are merely screwed on so we have a good interface and everything is lined up vertically for smooth transitions and no gaps on the bolsters when they're built. Went with the biax tape again on this, no woven, I'll just be doing a little fairing compound and calling it good. Uniflite decided to do a finish layer of roving, then just gelcoat and spatter paint, so I'd be stuck doing the ENTIRE interior for fairing. Meh, nah, I'll go with the factory program of a textured paint or a spatter paint.
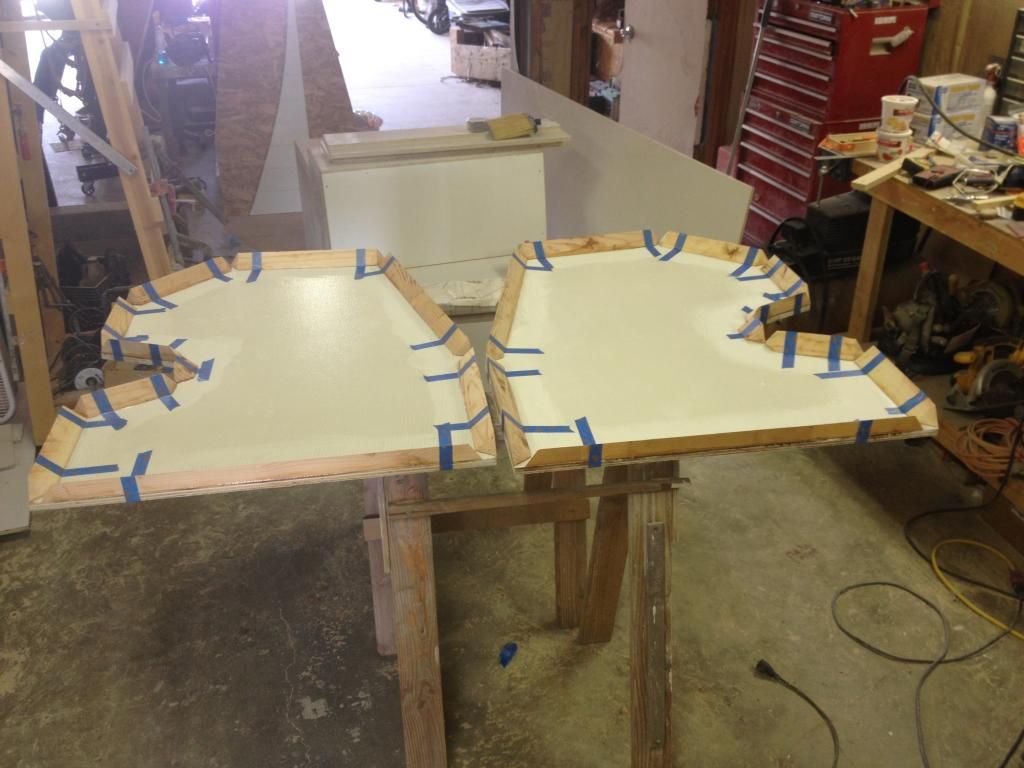
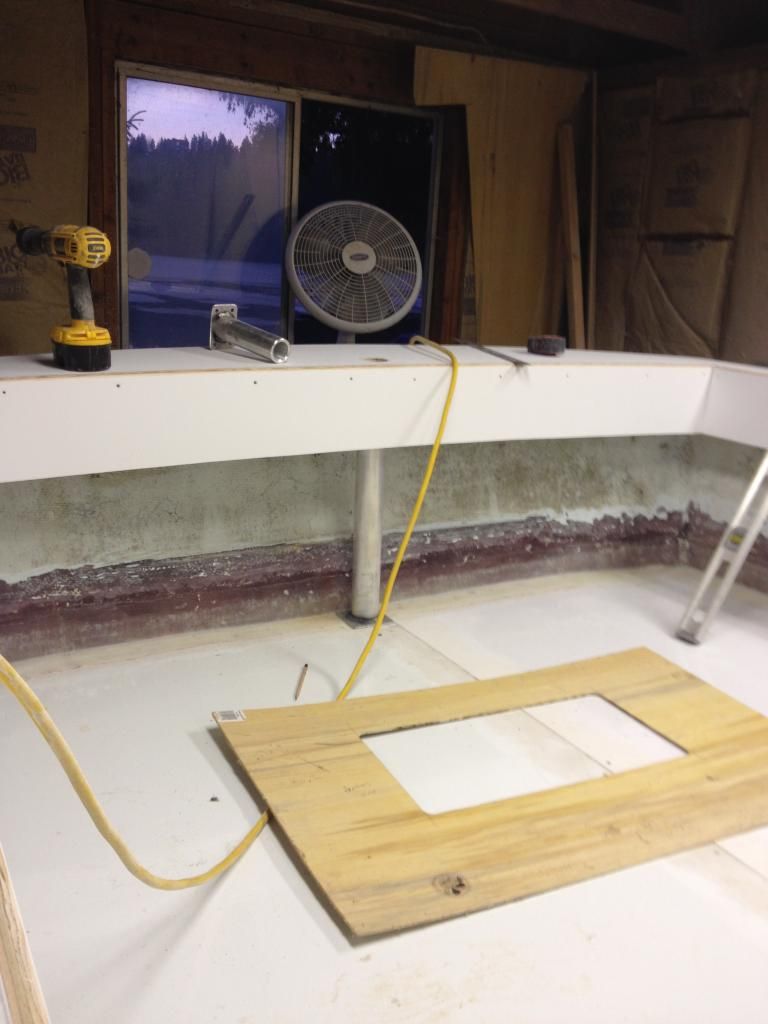
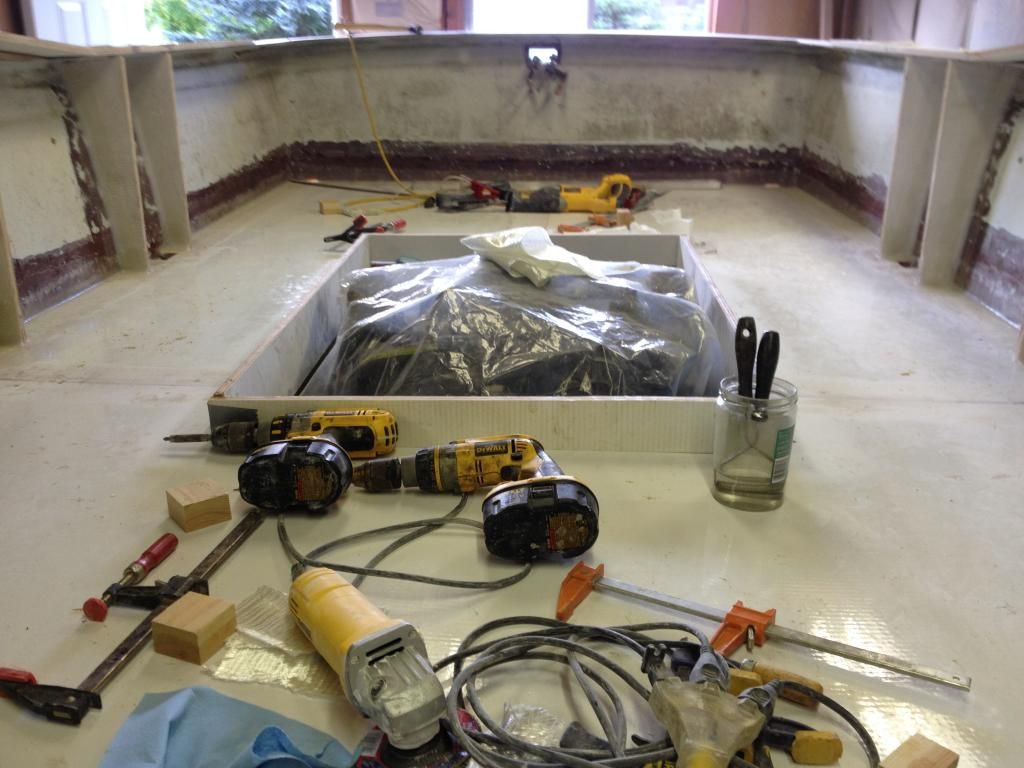
Engine splash protection is in place as well. This is glued to big cleats, then backed up with stainless screws through the sole. Opted for the belt-and-suspenders approach here because there's a bit of a span, and I wanted the sole to feel bulletproof under foot.
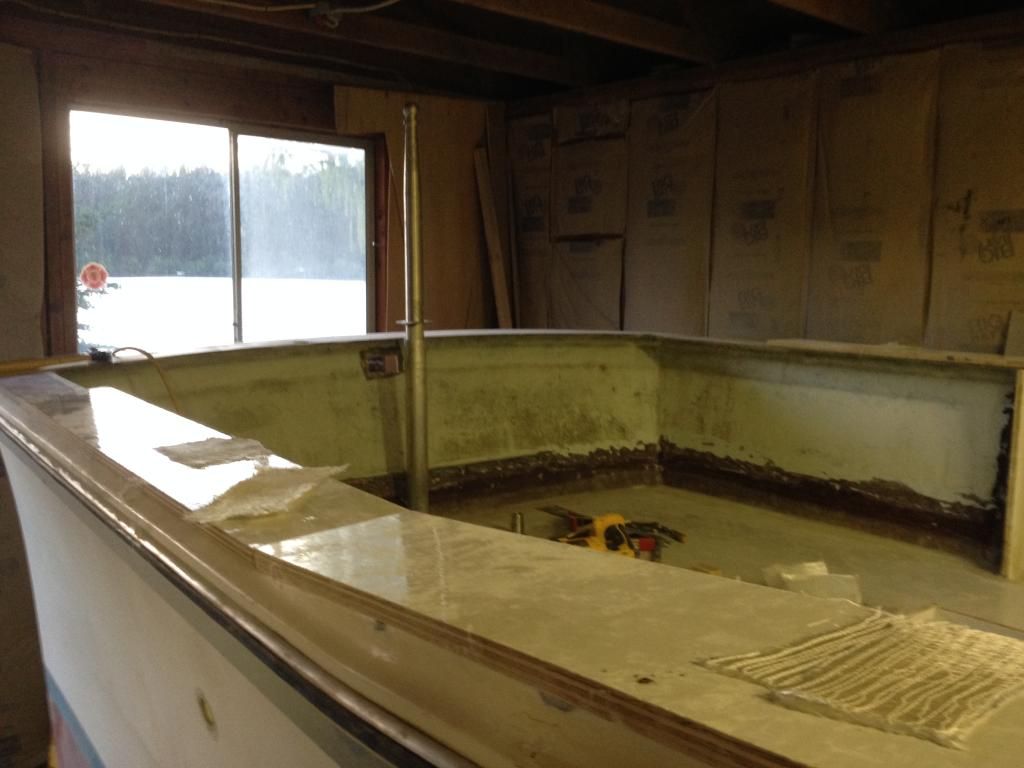
Lastly, since this is going to be our summertime surf/party/play boat over here in Spokane, it had to have the ability to tow humans. Looked long and hard at different options, including a custom T-top set up for towing like the MasterCraft CSX series. After thinking long and hard about it, I ended up picking up a removable tow post from Great Lakes. Rather than having the rope constantly annoying the occupants, it will hang out off the stern. Should still be tall enough for the mediocre wakeboarders we hang with, and will be *perfect* for surfing (the reason my wife actually got excited about this project).
Off to work again, then with 3 whole days off, let's shoot for getting the side decks glued on, maybe some hanging knees if she needs them, fiberglass in the engine rim, hinge the engine cover, and start whacking together a console! If'n we get the console ironed out right, drop in the steering/harness/throttle, and it is sea trial time...
E
- Bodofish
- Vice Admiral Three Stars
- Posts: 5407
- Joined: Sun Apr 29, 2007 12:59 pm
- Location: Woodinville
- Contact:
Re: Uniflite Salty Pup Refit
Yippy!!!
Sometime those big jobs are just sooooooo, not looking big. I know they are!
Build a man a fire and he's warm for the night. Light a man on fire and he's warm the rest of his life!
- Gisteppo
- Commodore
- Posts: 1016
- Joined: Fri Jun 22, 2007 11:26 am
- Location: Lake Spokane (Long)
- Contact:
Re: Uniflite Salty Pup Refit
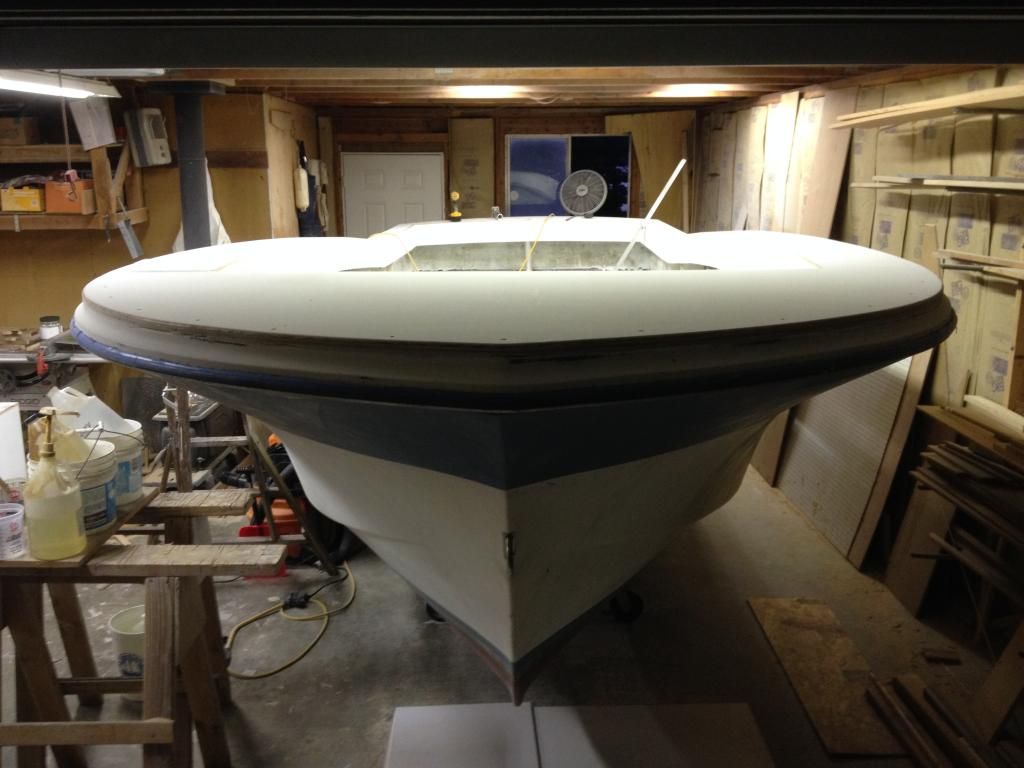
Full decks are stuck to the boat. Boom...
Still not entirely sure how I will detail the edge and fair it all up, but we will figure something out.
Hmm, how many rod holders?!?
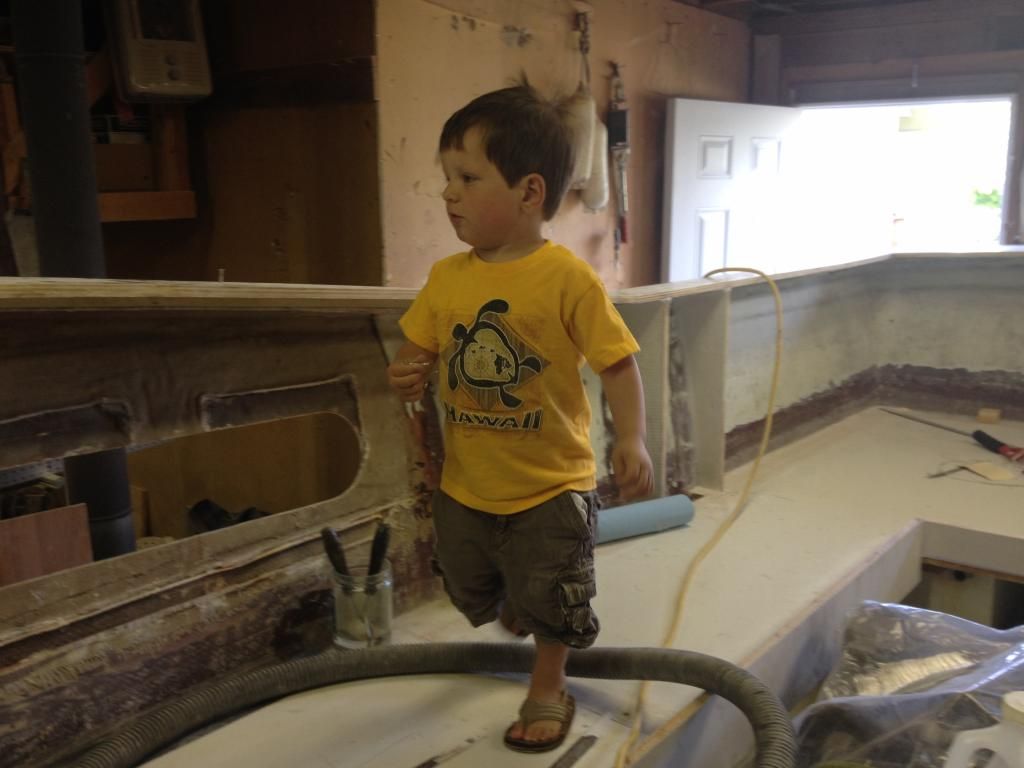
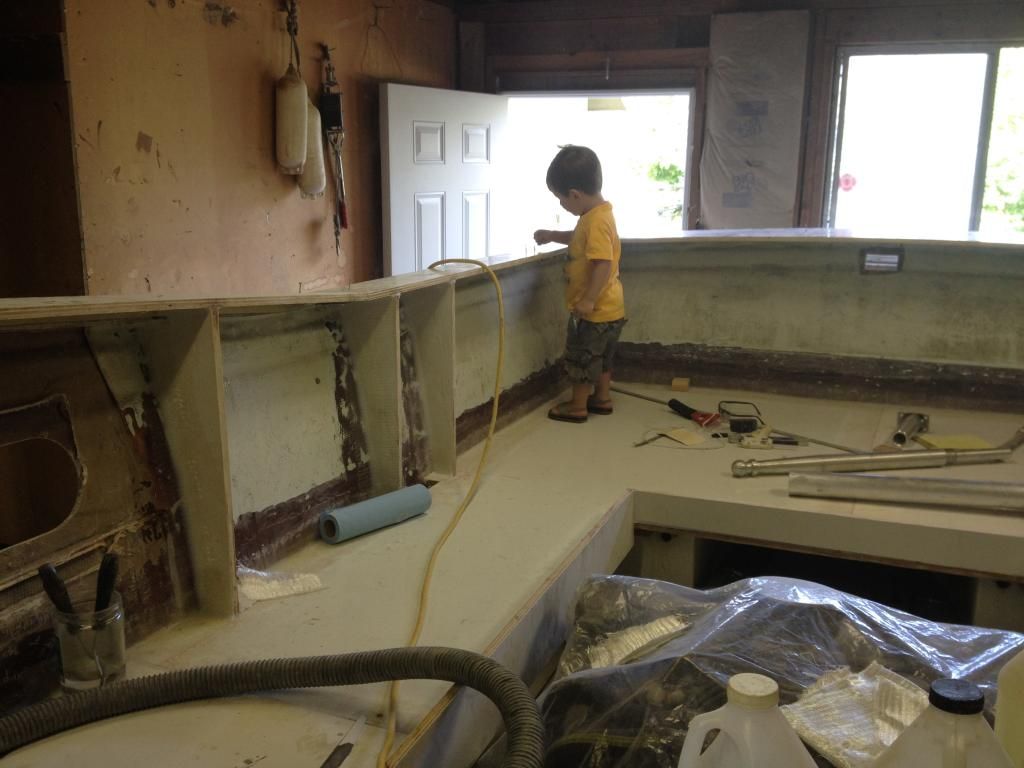
And the shop assistant was out with me today. He was very, very helpful.
Take the screws out of the holes, put them in the screw box. Then he comes back, gets screws out of the box, and puts them back in the holes. Well, at least he's funny...
E
- Gisteppo
- Commodore
- Posts: 1016
- Joined: Fri Jun 22, 2007 11:26 am
- Location: Lake Spokane (Long)
- Contact:
Re: Uniflite Salty Pup Refit
Got a little nuts this week and got some hours in on the boat. Nap times, late nights, whatever it took before I was stuck at work for 48 hours.
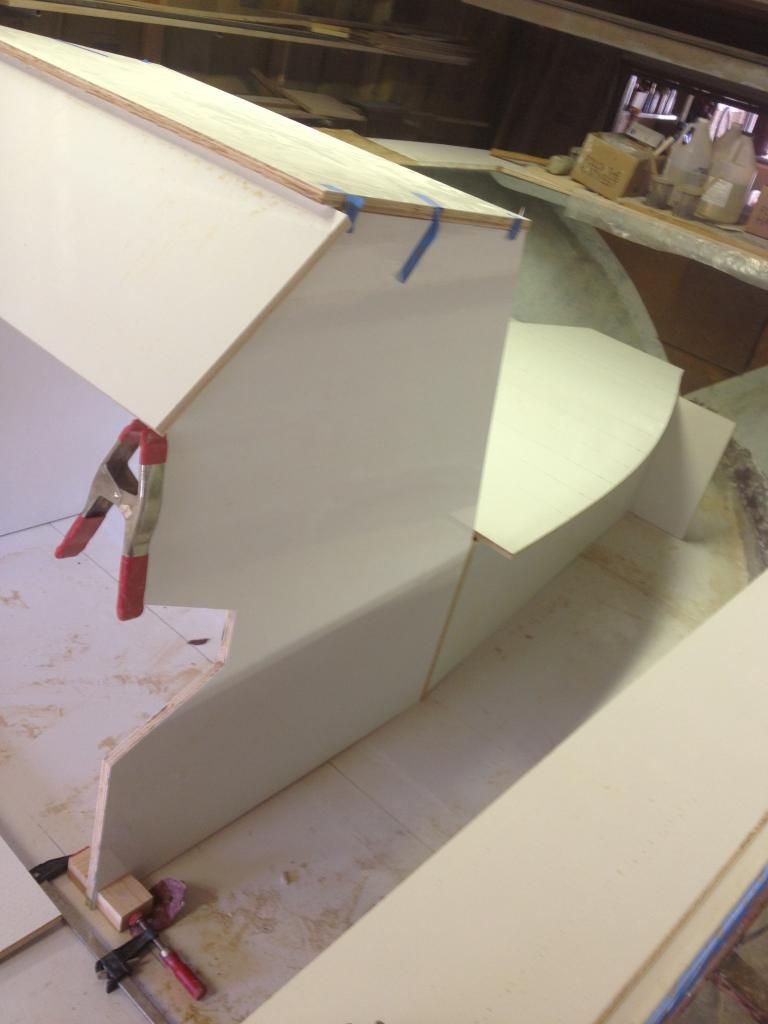
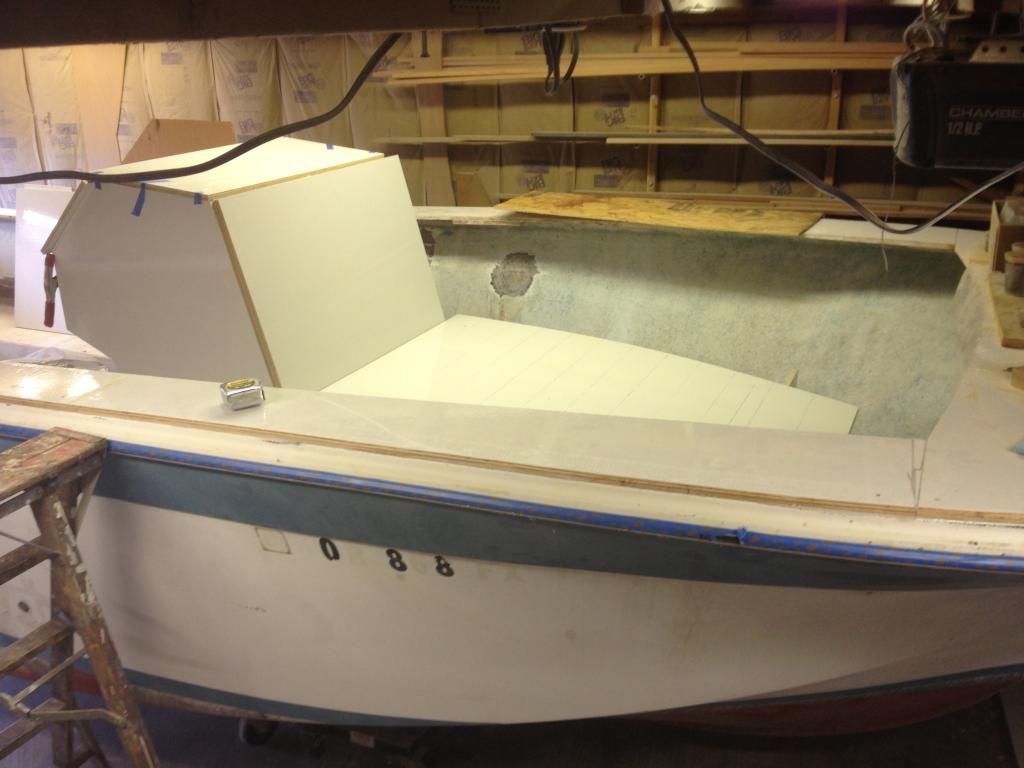
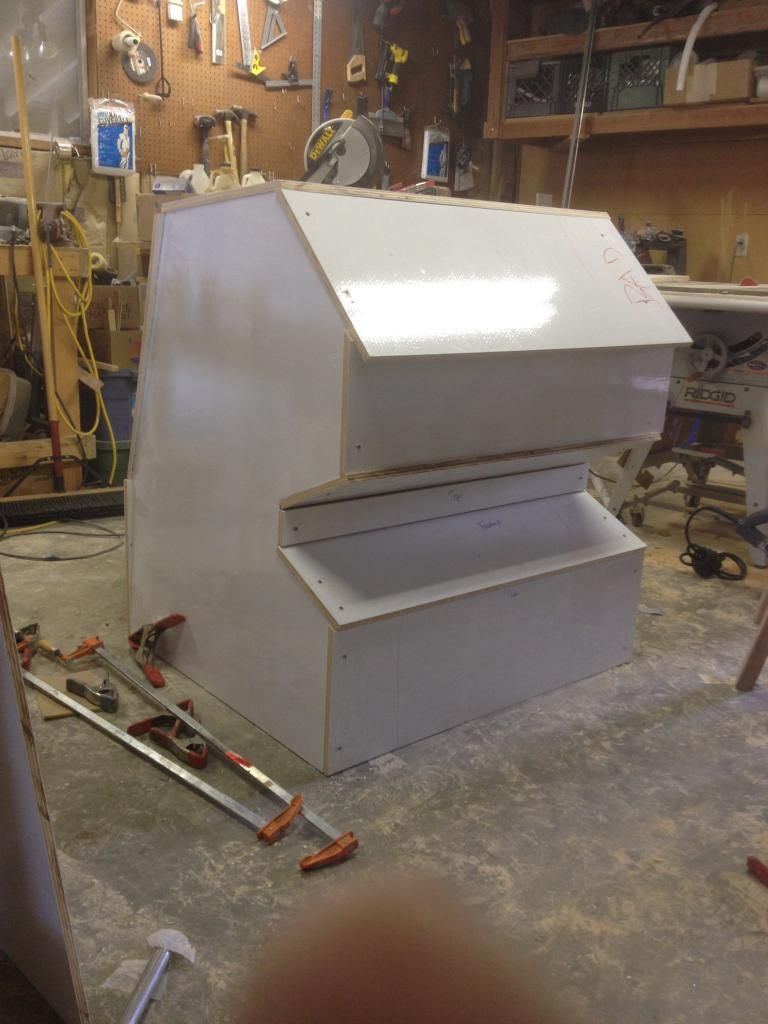
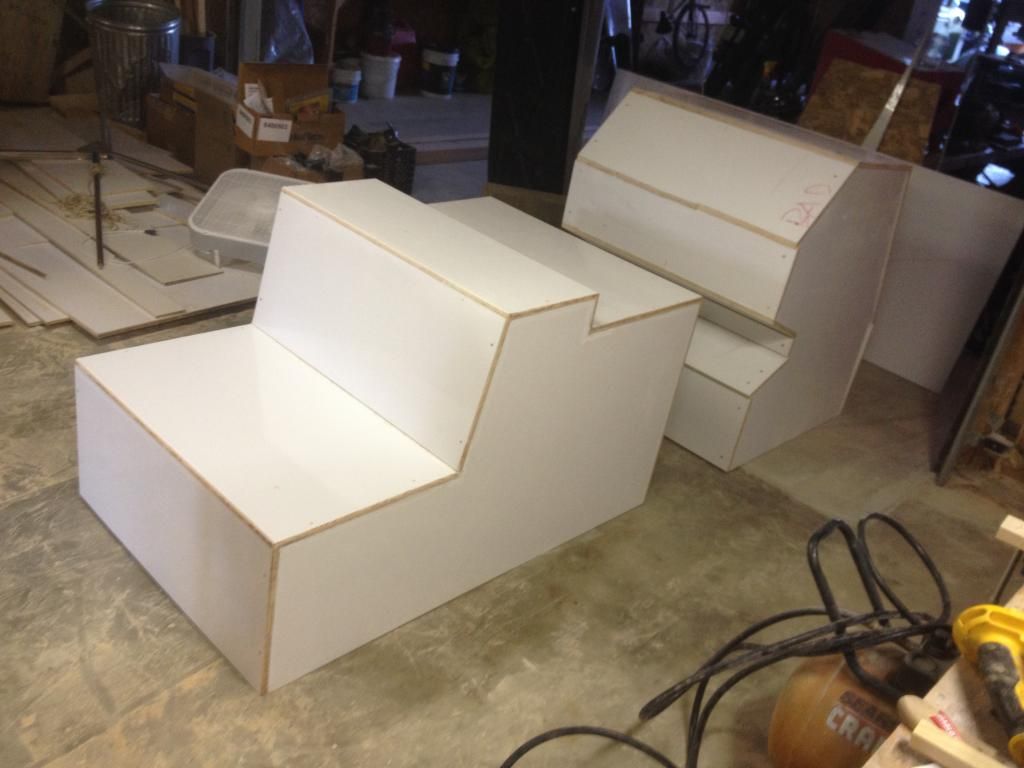
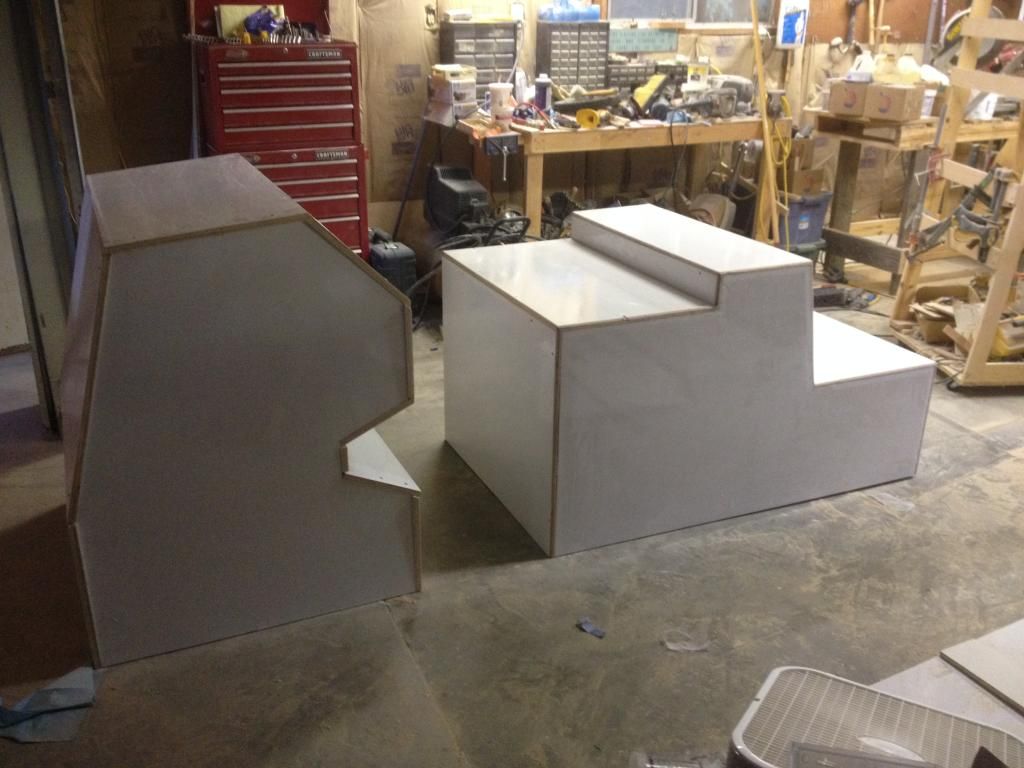
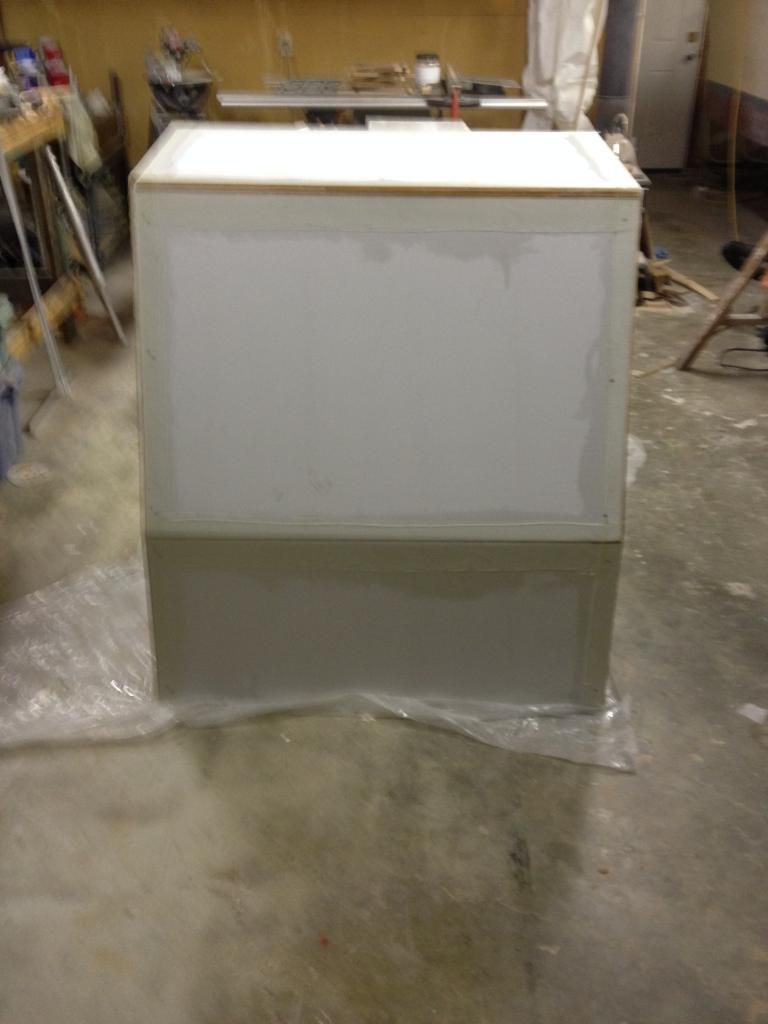
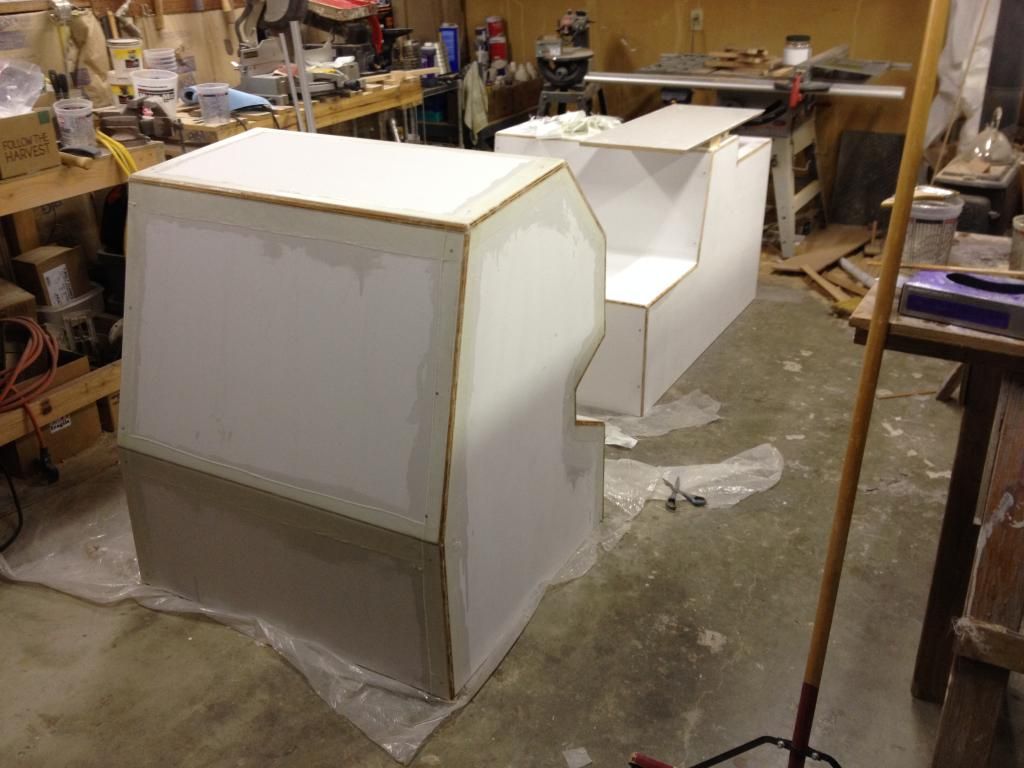
Initially started messing with console size, shape, and forward seat setup. Mockup after mockup evolved, and turned into this rough idea in final materials:
This will leave plenty of room around the console to walk, and the console will taper ever so slightly to be narrower at hip level, as well as give a visually leaner shape. Everyone's seen a square thing on a boat, and it looks funny.
Opted to slope the top for drainage, and to minimize square/parallel/even lines in the boat, because boats curve, angle, and move in ways that straight lines don't like.
This gives a general overview of the big forward seating area. Don't tell my wife, but that's actually going to be a nice big kill box, most likely with a custom insulated bag installed only for fishing trips.
This overhang is another space trick using the eye. The seat will run out to that edge with a big thick seat pad. It will make the brain think about going around it. Inside, against the console, will be the T-top legs. Idea being, toes won't get stubbed, shins won't get bonked, and more apparent foot space will be available.
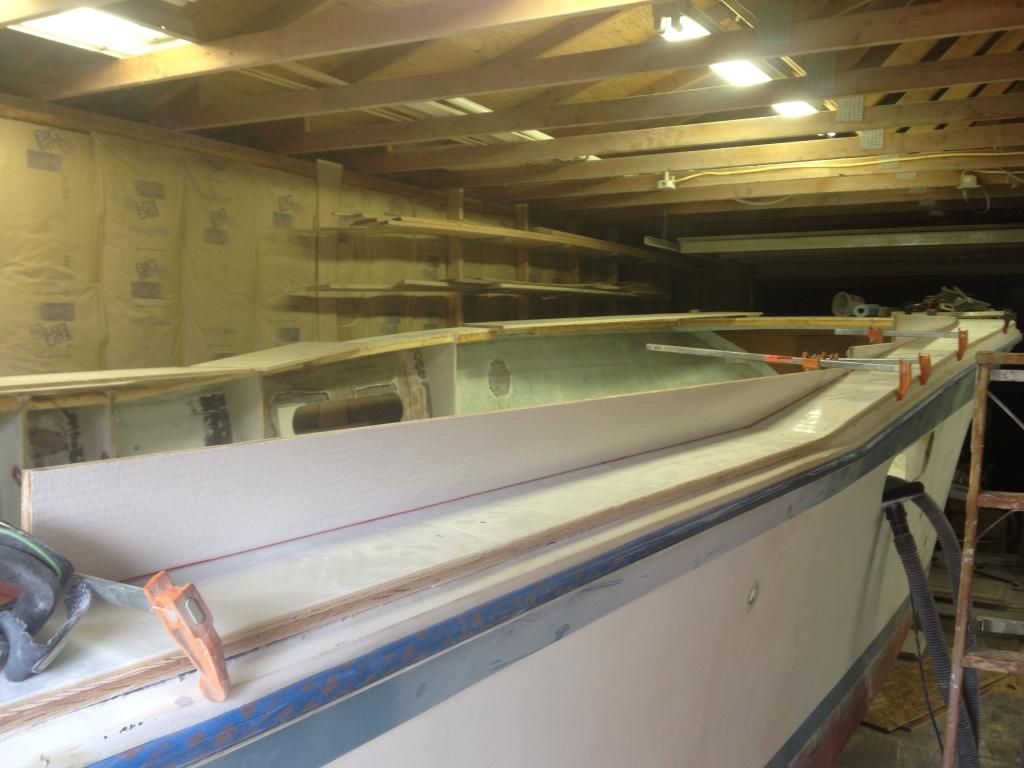
With all of that roughed out, the cleating went in for the side bolsters. Thick cleating adds a bunch of stiffness, big gluing surfaces, and redundancy for strength. Most places have up to and above 2" of gluing surface, lots of room for lots of adhesion.
Got clamps?
Having the final shapes for the console, more of the 45 degree cleat stock was glued up. This allows for huge glue surface, and will get wrapped in tape. I get sick of joints breaking after being pounded a bunch offshore, so big cleats backed up by glass will be the order of the day. An extra 20lbs in the console never hurt anything.
Under the boat you can see all of the pre-cut stock that will become the bolsters. 6"-8" deep bolsters will surround the boat. Lots of thigh bearing surface, and even more strength and stiffness. I actually think this hull will be stiffer as a CC than it ever was as a cabin boat.
Next, trimming and fitting bolsters, final fitting of the console, and we glue it all together. Then a little glass work, rigging, and she's getting wet...
E
- Mike Carey
- Owner/Editor
- Posts: 7765
- Joined: Sun Apr 01, 2007 10:56 am
- Location: Redmond, WA
- Contact:
Re: Uniflite Salty Pup Refit
very exciting to see this coming to fruition. Can't wait to see the finished boat!
- Gisteppo
- Commodore
- Posts: 1016
- Joined: Fri Jun 22, 2007 11:26 am
- Location: Lake Spokane (Long)
- Contact:
Re: Uniflite Salty Pup Refit
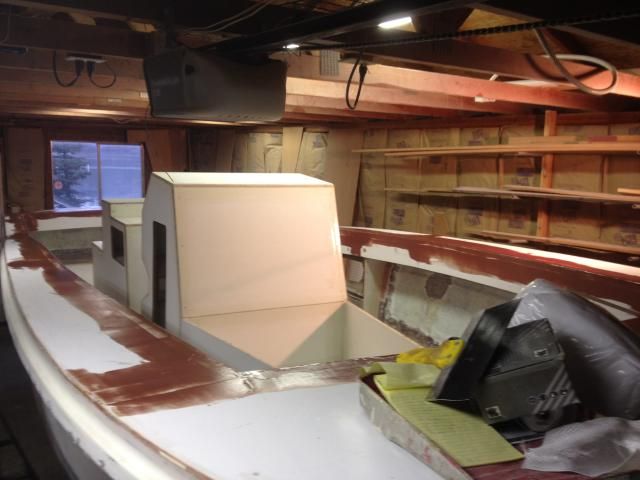
Knocked out the dry fit of the console today.
Felt comfy testing the ergos at 16" between seat and console.
The footrest idea came from a buddy's World Cat, most comfortable setup I've found in a CC. This one is a little higher because of the seat box / engine cover dimension requirements, but same angles and such.
Hopefully glued up tomorrow.
E
- Gisteppo
- Commodore
- Posts: 1016
- Joined: Fri Jun 22, 2007 11:26 am
- Location: Lake Spokane (Long)
- Contact:
Re: Uniflite Salty Pup Refit
I don't know how the guys in the deep south do it. This hot weather boat building stuff is for the birds.
Made up some big blanks for the thigh bolsters in the boat. This is all in-situ fitting and design, nothing is pre-built or made off the boat. Many clamps, lots of markers.
Left them a little high so the finish work could be done with a router rather than introducing error by lining up edges and trying to fair out the mistakes.
Man the side decks stiffened up a ton with this! Used screws as clamps due to a lack of very large clamps to hold everything in alignment.
Also started doing a cold water bath for my resin and hardener, and the mixed cup, to keep the reaction from kicking off in the shop when temps were between 90-105 degrees. It works well enough to get me out gluing when it's hot, even though that's a moderate level of hell.
However, got the console taped up.
9oz tape, as we aren't in need of strength, just covering the raw wood edges for long term durability.
I didn't get any photos of my carcass inside the console to tape the inner edges. Ugh, that was peachy.
Had a 45 minute window of time one night, so I popped out and threw the tow post in for rough rigging work. Gotta fix that solidly, then add in the hatch that will access the rudder and steering gear.
8 hours of router, grinder, and random orbit sander got the side decks smoothed up and ready for glass tape over the wood. Lots of work, not much visual change. However you can start to visualize her final lines better now.
And here it is, a West Coast boat with Carolina influence. Massive for a 23 footer.
E
-
- Petty Officer
- Posts: 32
- Joined: Tue Nov 20, 2012 4:12 pm
Re: Uniflite Salty Pup Refit
Compared to your last boat, this thing is a beast!! This will be a very nice big water fishing platform, very nice job!!
- Gisteppo
- Commodore
- Posts: 1016
- Joined: Fri Jun 22, 2007 11:26 am
- Location: Lake Spokane (Long)
- Contact:
Re: Uniflite Salty Pup Refit
This will be pic heavy...
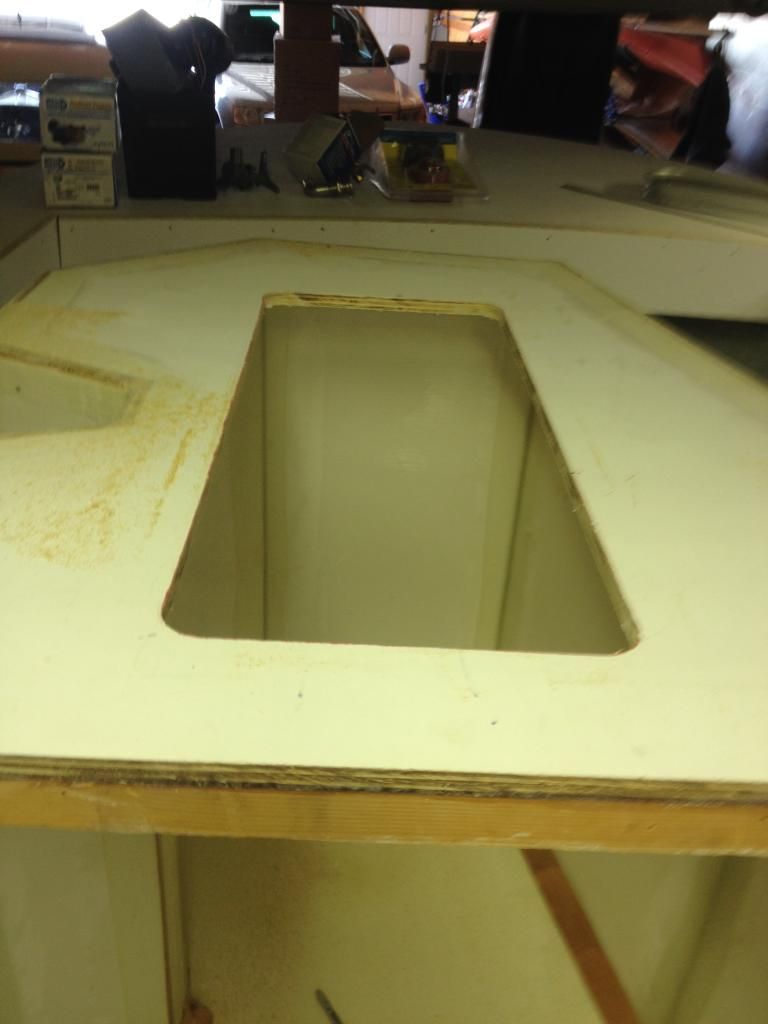
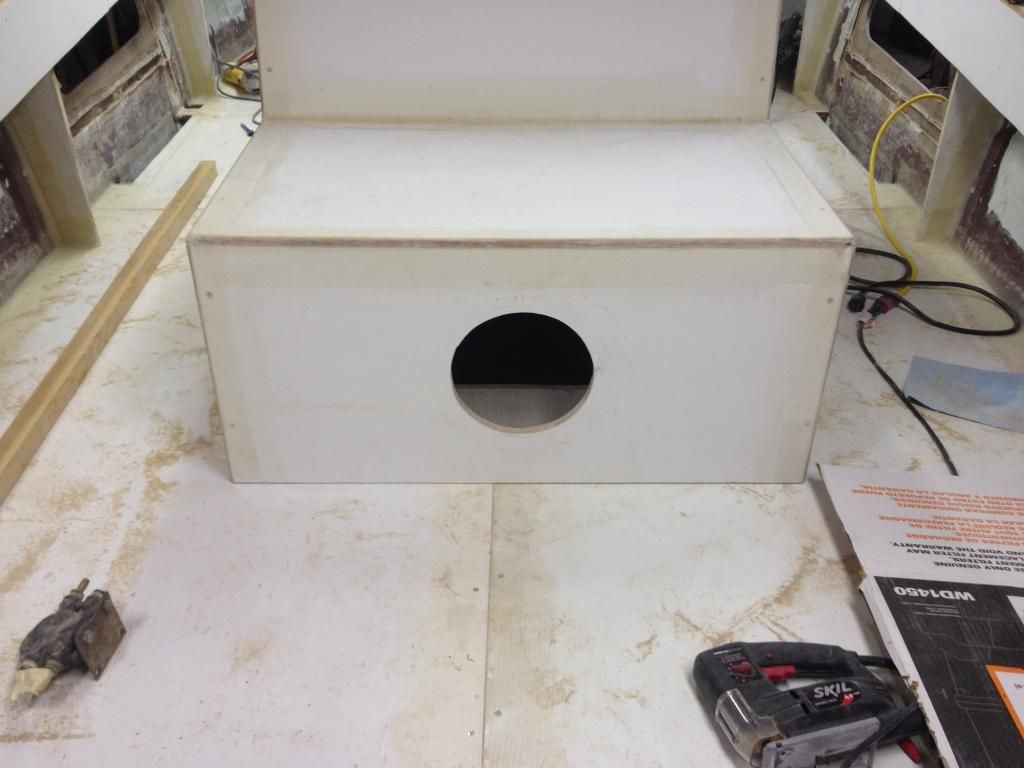
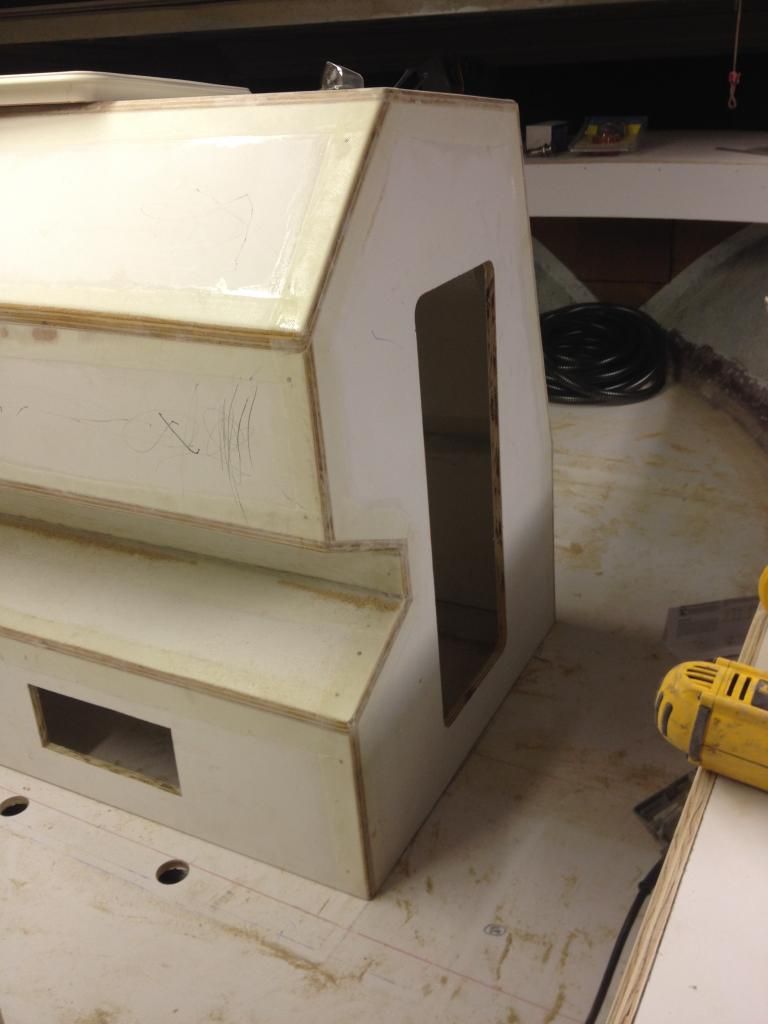
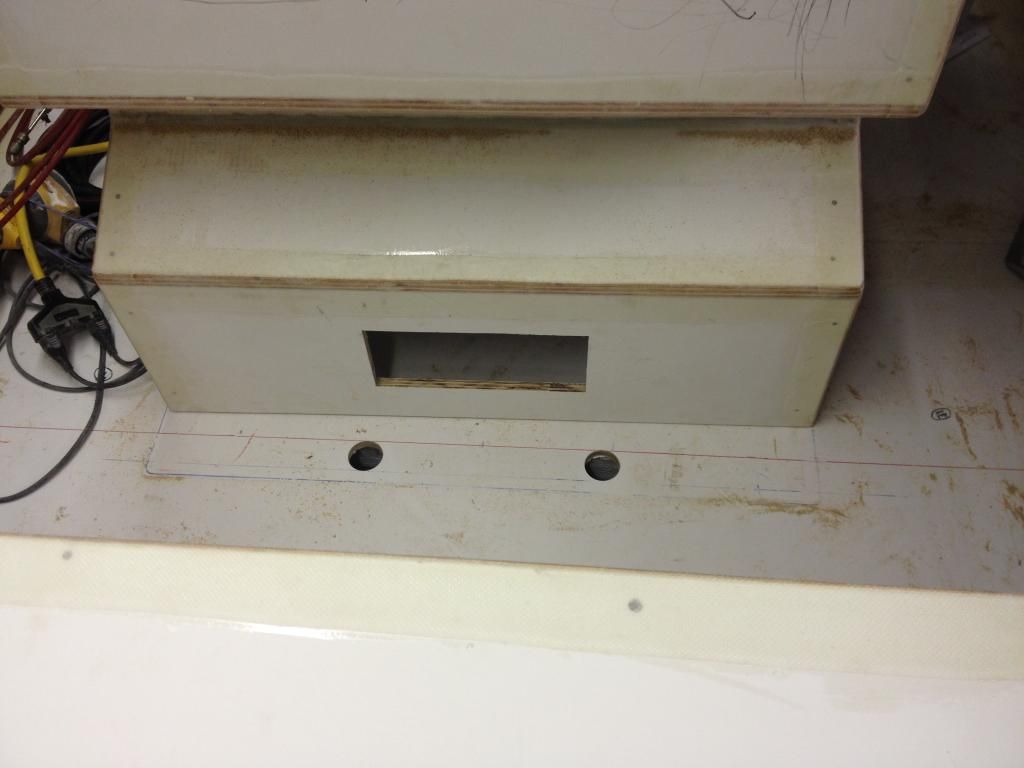
Large hole in the console, this is for access to the internals without having to mess with building in an opening part on top or in the seat back (read: more water tight).
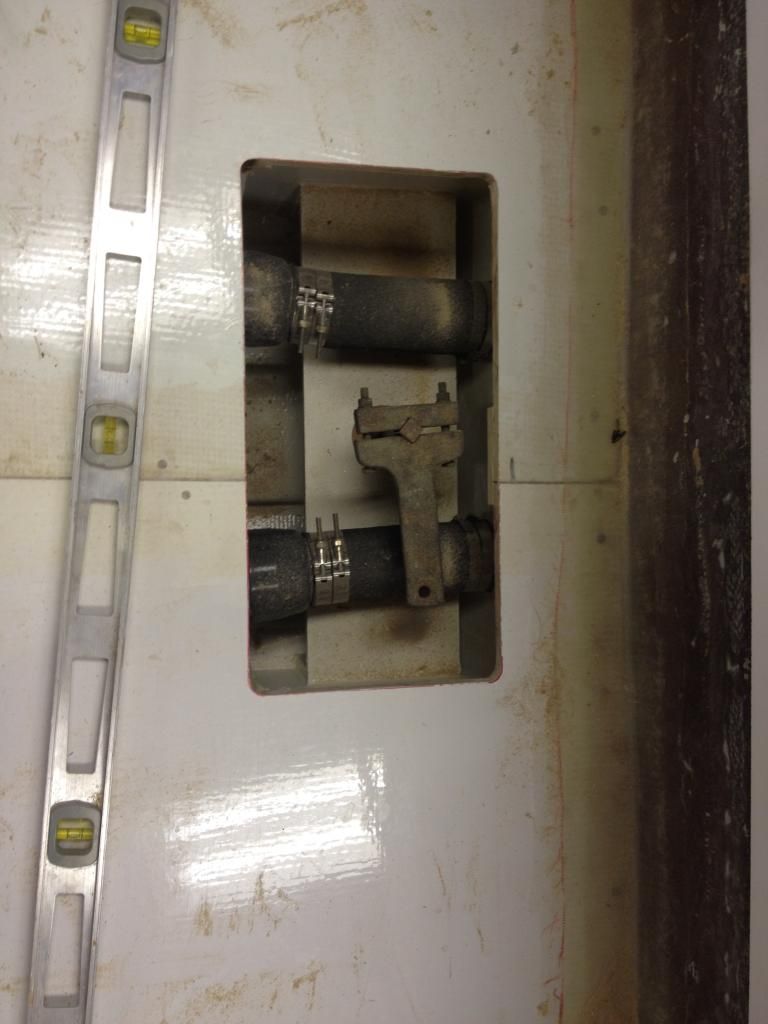
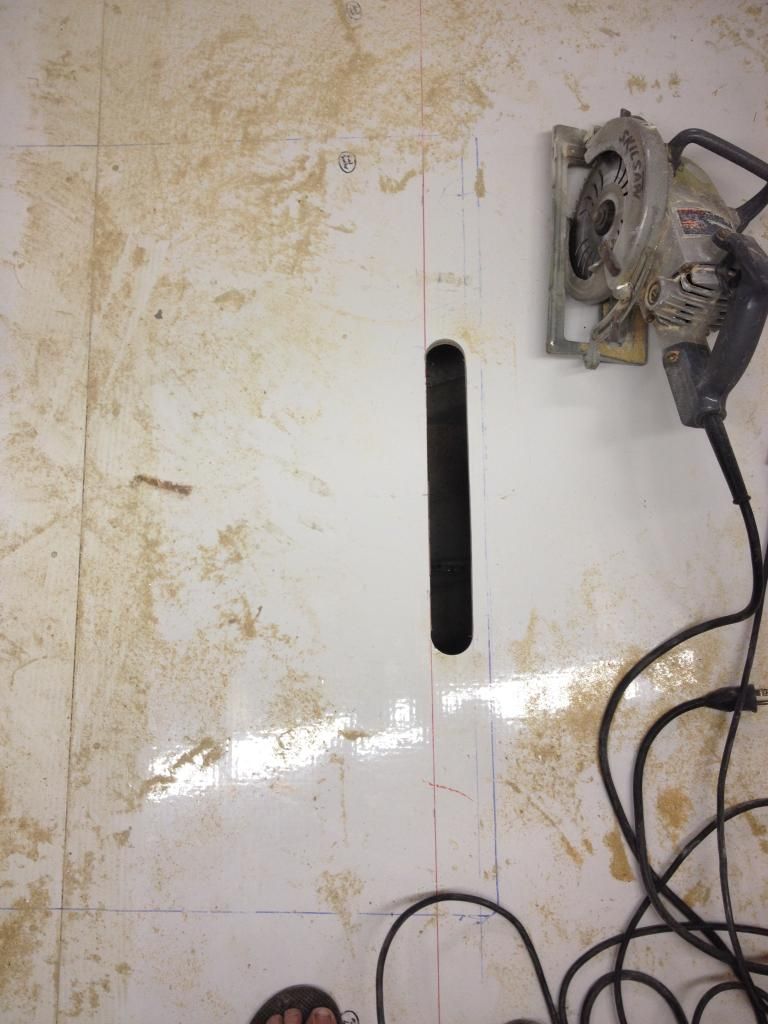
Opened the sole over the mechanicals at the transom. This will be closed with an Armstrong hatch so it's as tight as possible.
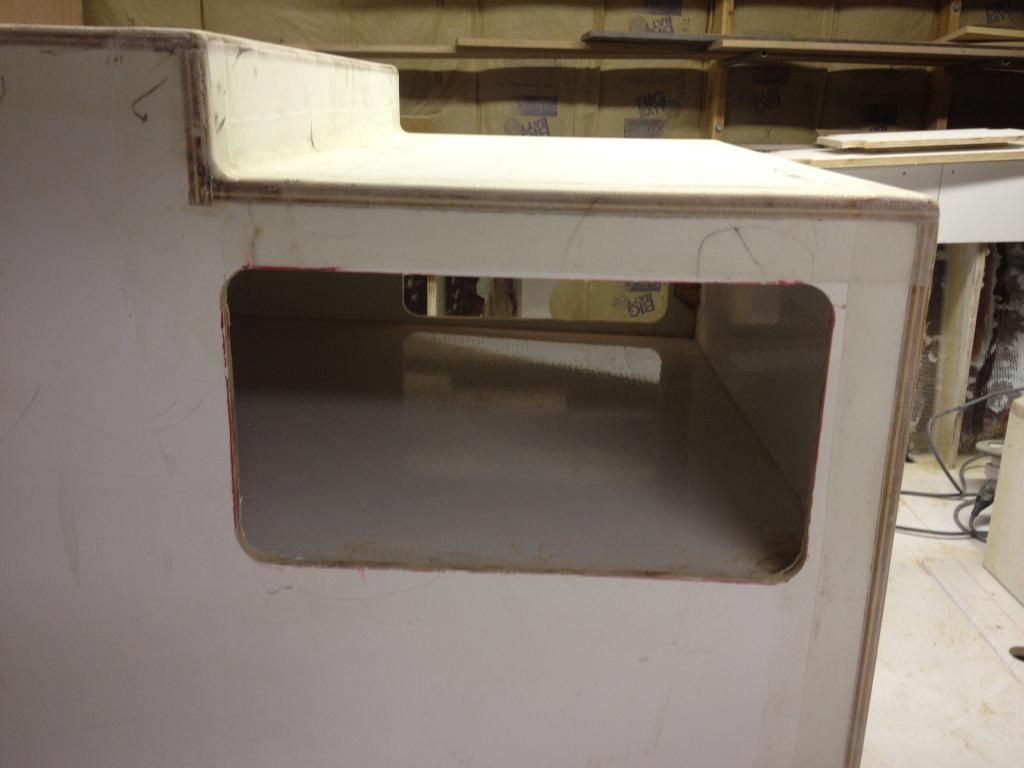
Went with double access to the storage in the engine box. All light stuff in here, but doors on both sides so you don't have to reach too far to get at it.
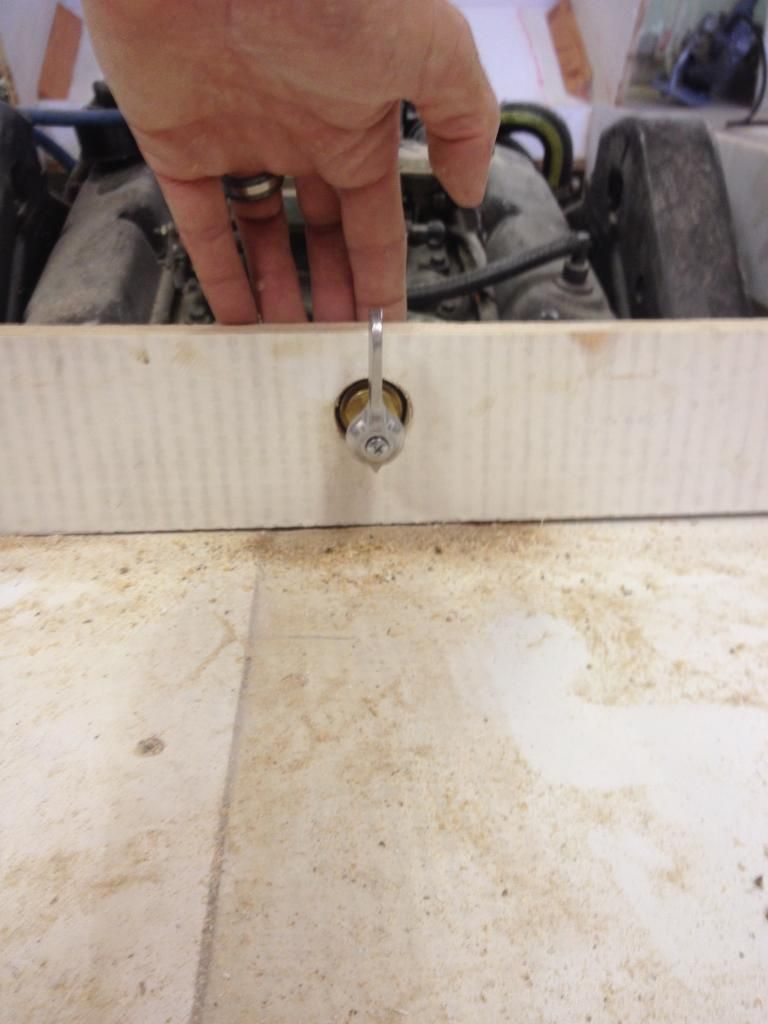
Knocked in this little hatch hole aft for access inside.
That will allow easy access to the fuel valve, controlling all three tanks with the shortest fuel line runs possible.
Also poked a hole in the toe kick of the console to make runs for hoses/cables/wire as easy as possible.
Poked the holes for the runs from the bilge to the console.
Then decided that I wanted a big, easy space to work in. Much better for all the crap that runs in there.
Then we got out the 'glass again and wrapped all the wood on the side deck. All joints are now cleats inside, wrapped with glass outside.
Used a variety of tape sizes to make it all work.
On the bright side, everything is stuck together. Down side is, there's no shortage of fairing work to be done...
E
- Mike Carey
- Owner/Editor
- Posts: 7765
- Joined: Sun Apr 01, 2007 10:56 am
- Location: Redmond, WA
- Contact:
Re: Uniflite Salty Pup Refit
thanks for the update, coming along nicely!
- Bodofish
- Vice Admiral Three Stars
- Posts: 5407
- Joined: Sun Apr 29, 2007 12:59 pm
- Location: Woodinville
- Contact:
Re: Uniflite Salty Pup Refit
I'm so excited for you!!!! They always look so close yet so many things and details to take care of. Time, time, time She's going to be beautiful! A real one of a kind.
Build a man a fire and he's warm for the night. Light a man on fire and he's warm the rest of his life!
- Gisteppo
- Commodore
- Posts: 1016
- Joined: Fri Jun 22, 2007 11:26 am
- Location: Lake Spokane (Long)
- Contact:
Re: Uniflite Salty Pup Refit
Did a few weeks of Honey-Do stuff, fixed a ton of lighting, made the house more energy efficient, readied everything for winter.
First time in a couple months, ran out to the shop while SWMBO and the Boy went to tumbling class and he napped. Grinders were run, fiberglass was laid.
Inside the console first. This was a *tight* space to work in, through the hatch in the side. It wasn't comfy:
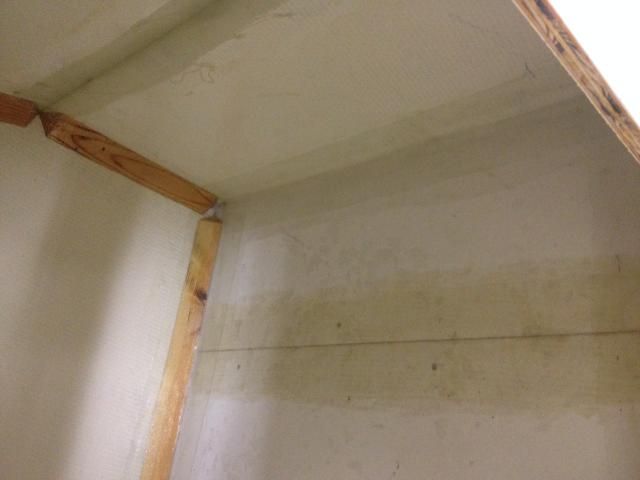
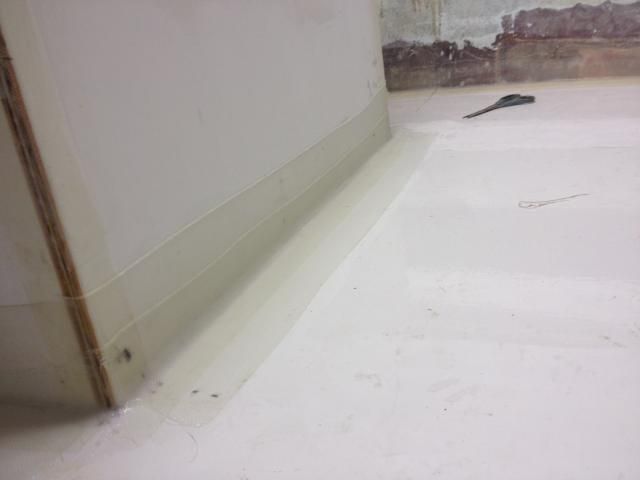
Went with 2 layers of 8" tape overlapped on the joints on the exterior, and one on the interior with the big cleats. Added a third layer on the aft joint due to the high foot traffic, as well as dealing with the inside having the plumbing and cable chase cut into the sole.
Here's the forward edge of the console:
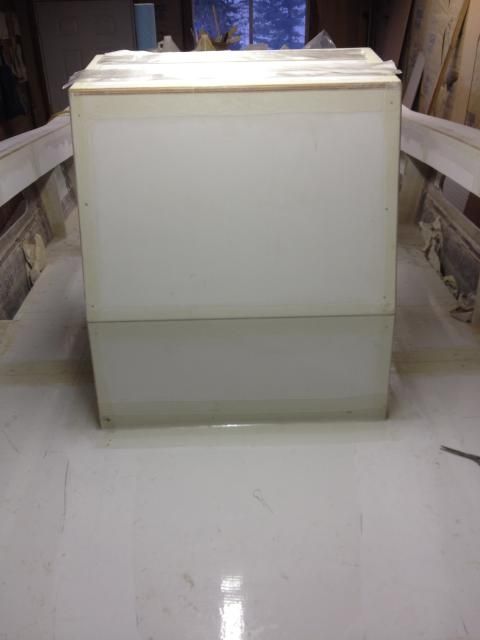
And the whole front, which will have the forward seat support box built on next:
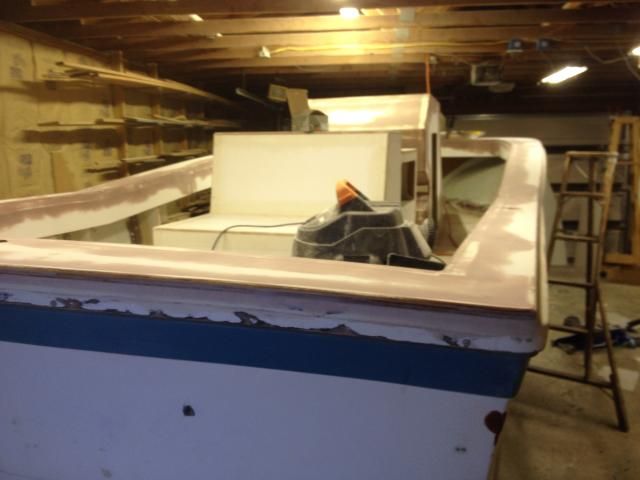
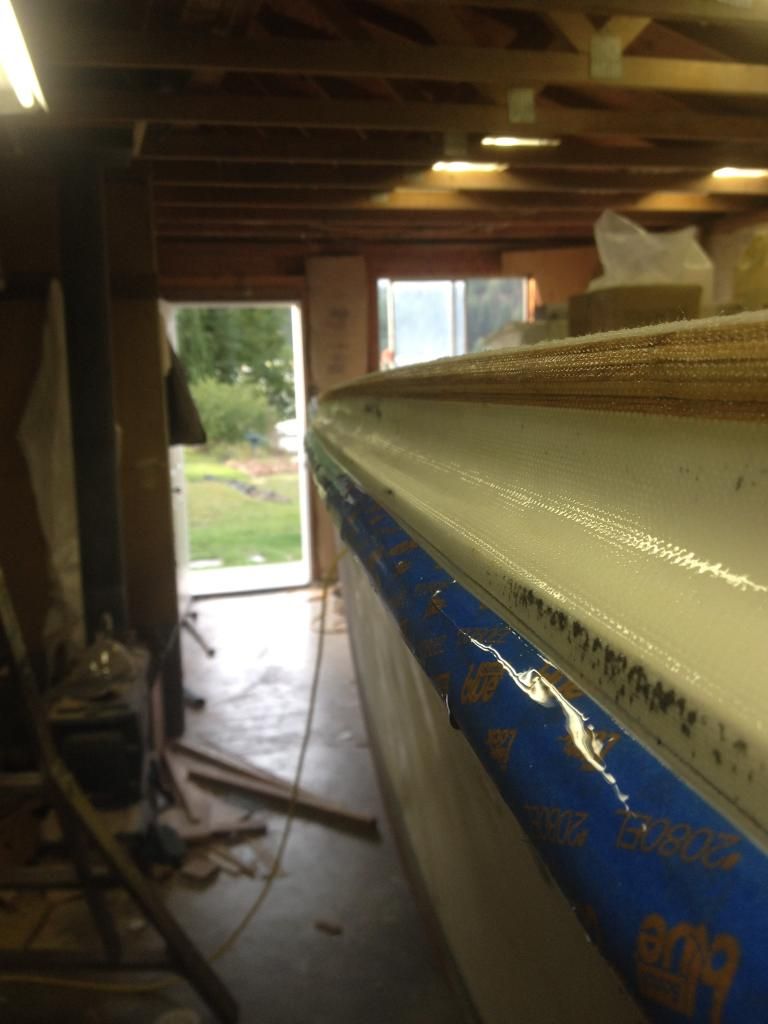
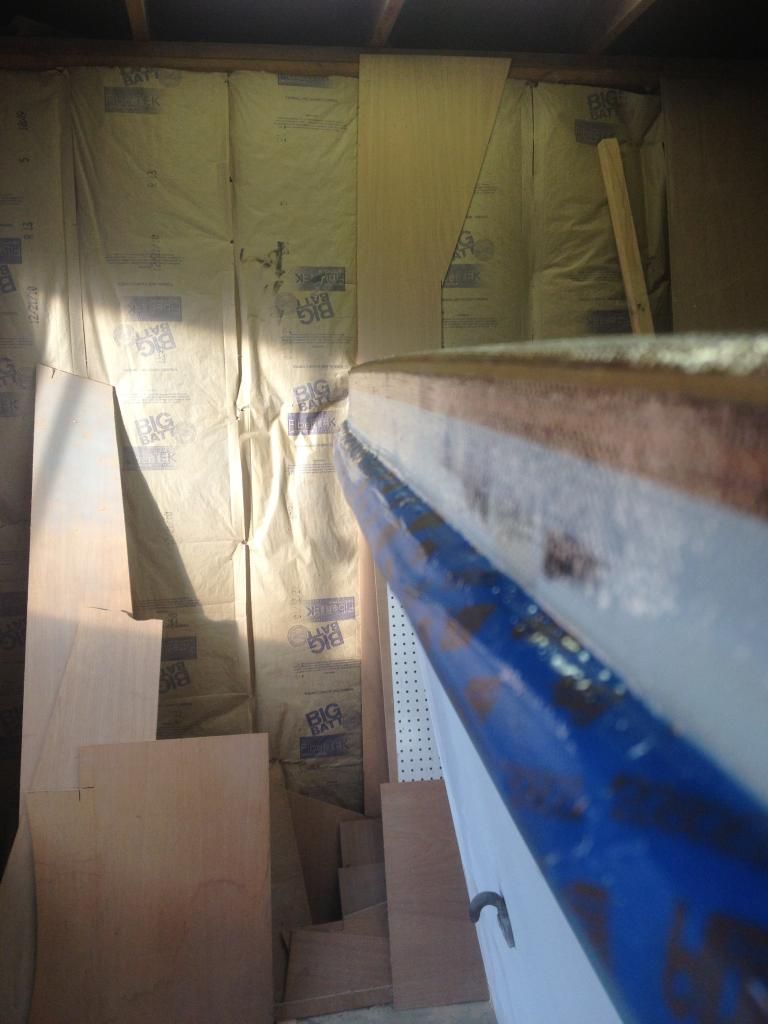
Ripped off the rubrail, started the fairing process of the cap. That radius is going to be a hassle, anyone have any sweet tips on fairing that cove?
Winter work has commenced...
E
- Gisteppo
- Commodore
- Posts: 1016
- Joined: Fri Jun 22, 2007 11:26 am
- Location: Lake Spokane (Long)
- Contact:
Re: Uniflite Salty Pup Refit
Minus some very cold weather drifting through, the shop was occupied and work got done.
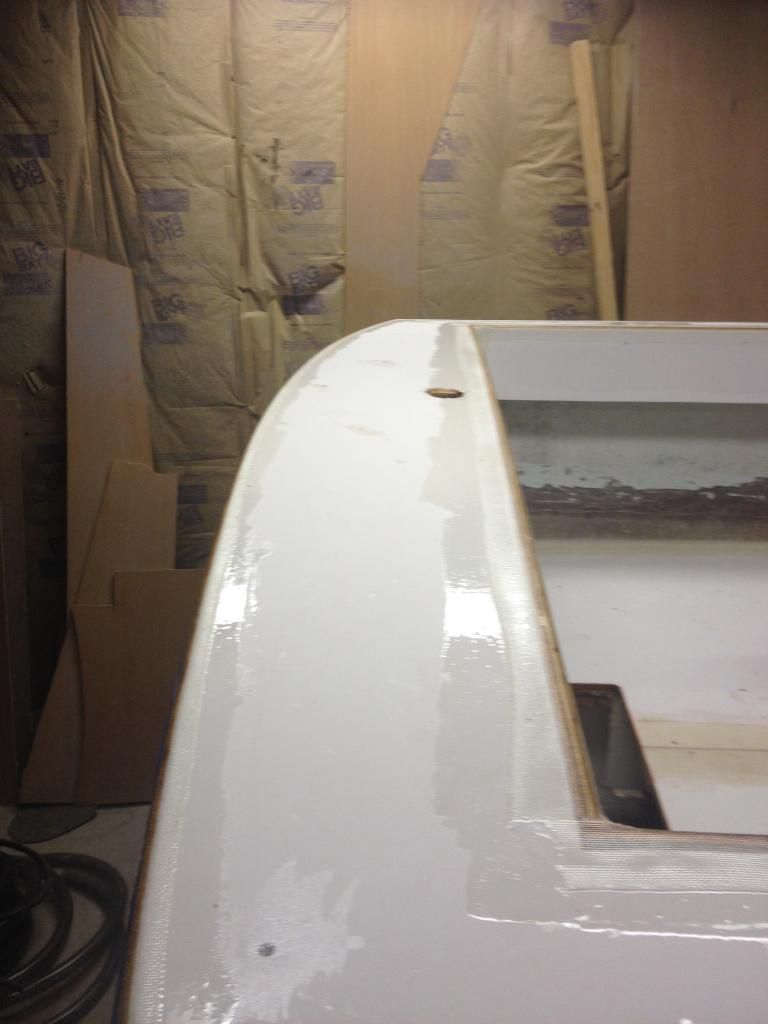
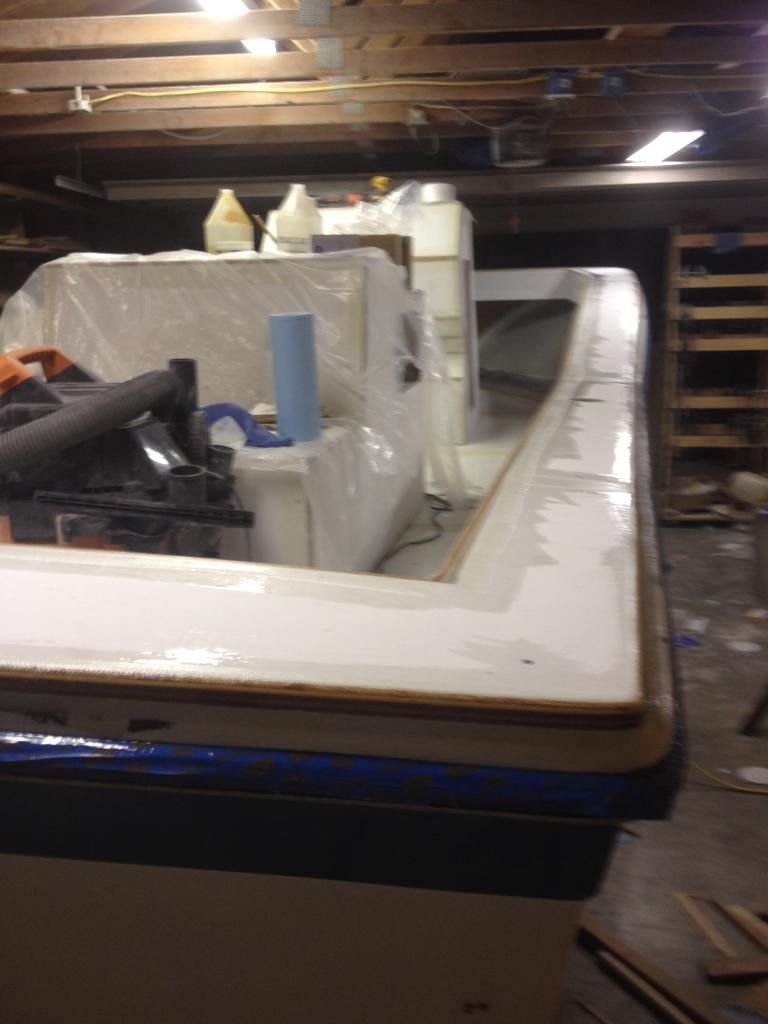
Laid down some neat epoxy to make a more uniform base to fair over. Plus I can sand a little further below the fairing mud and not mess up the tape.
Stuck down the forward seat box/base where the curved forward seat will rest. This is straight sided because the materials I had aren't flexible enough, and since I sold the old boat, time is of the essence. No foam cored, faired arcs here...
Couple-dy layers of tape inside, one outside, and faired into the console where the T-top feet will come down. This will be a strong spot, then the seat itself will widen out around the location of the T-top supports so they'll be far less likely to catch a toe.
Except forward. where 4 layers of tape will keep it from popping apart. This is for (don't tell my wife) possibly housing a large custom kill bag for fishing. Otherwise, storage and a custom ballast bag for surfing will play in there.
This is how you get stuff to cure when it's 9F outside at night...
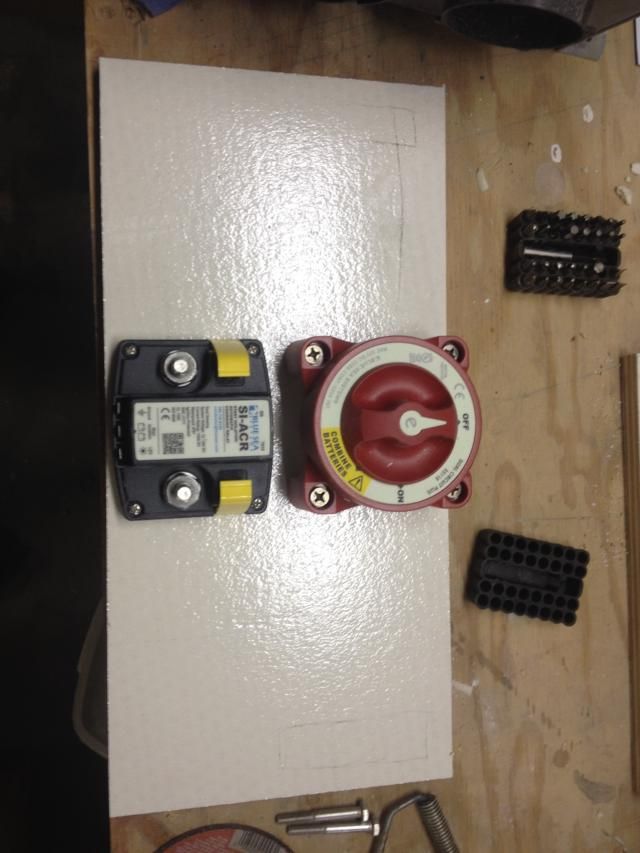
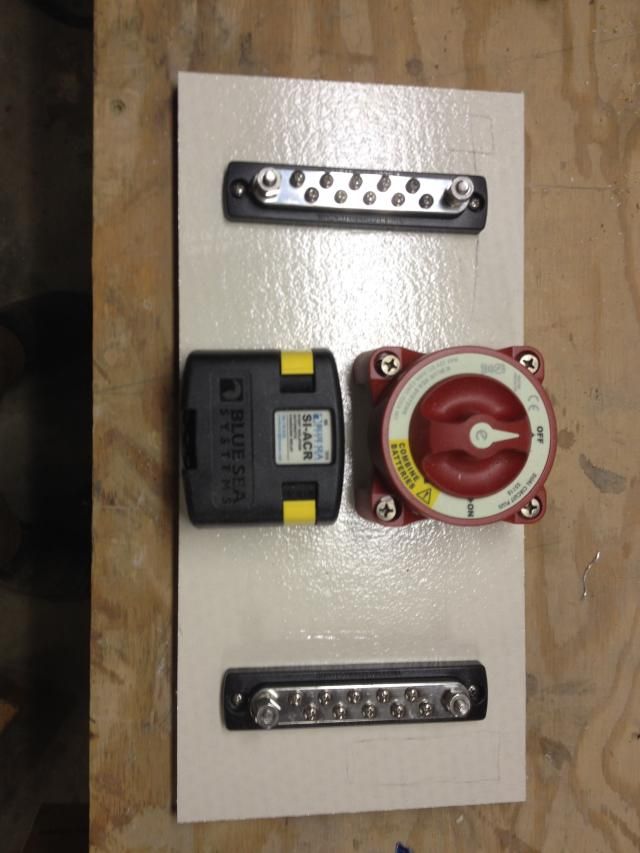
Front-ending the rigging process, I'm going to make a bus board for inside the console. Waiting on two 10 gang bus bars to add to this mount before I glue it in the interior of the console, on top of the footrest cutout. Two batteries will feed the switch, house bus will feed power, common ground bus for the whole system, and the ACR to manage charging.
Parts be-a-comin' from the Midwest and the east coast right now for rigging. Still working out details for shipping a T-top from Racine, if anyone has a lead...
E
- Gisteppo
- Commodore
- Posts: 1016
- Joined: Fri Jun 22, 2007 11:26 am
- Location: Lake Spokane (Long)
- Contact:
Re: Uniflite Salty Pup Refit
Got a shipment from Great Lakes Skipper, so did a little bit of fiddly work in prep.
Picked up some good sized bus bars for power distribution and grounding. Yeah the image is sideways, deal with it.
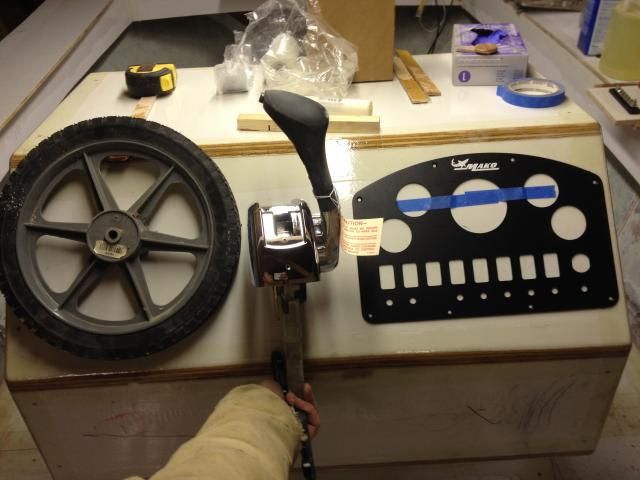
Doing a little fitting, this is the planned layout of the console. That's a 13" wheel, in place of the 13" wheel that's in shipping. Throttle is from a Mastercraft center console, and the dash panel is out of a Mako 219.
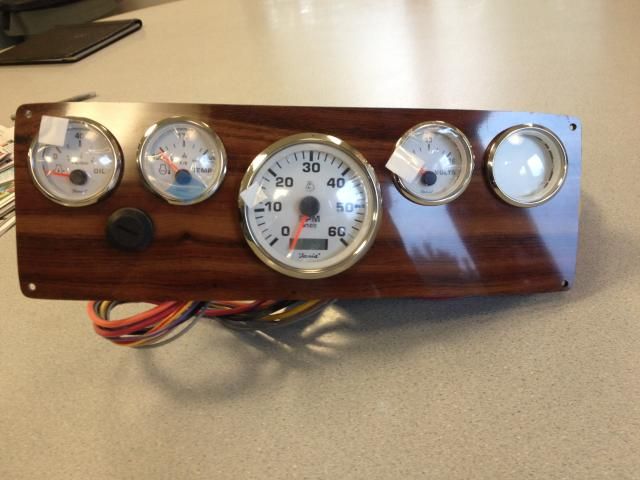
Picked up this gauge panel and wiring harness for PCM 351 engines from SkiDIM, good stuff, saved me a ton of time doing up a harness and wiring the gauges. Unfortunately the panel it is mounted on looks terrible.
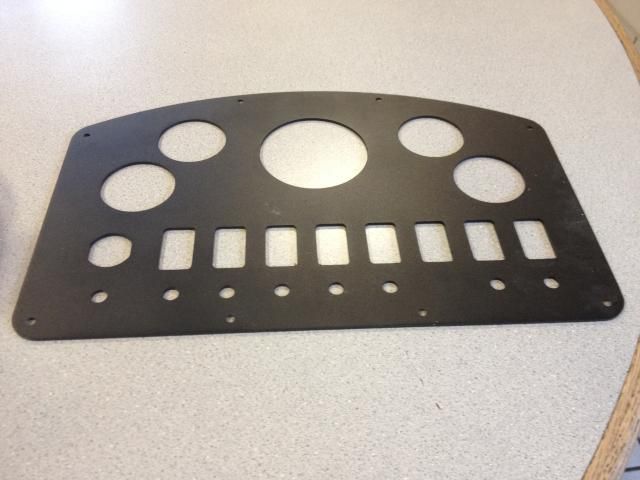
Flipped over, the key ends up on the correct side, no Mako logo, and it looks like it'll be a more natural fit.
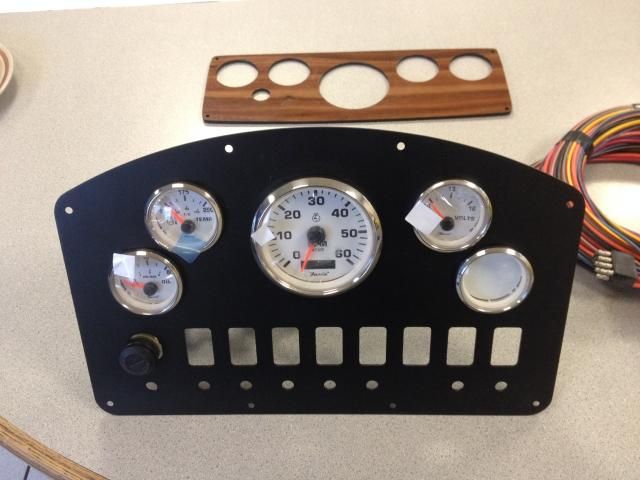
A whole bunch of removing, unscrewing, screwing, clipping, twisting, tightening, and adjusting, we have everything put together. Just need to track down a fuel gauge to replace the blank, and we are good to go!
Good weather this week, so hopefully a shop day or two happens.
E
- Mike Carey
- Owner/Editor
- Posts: 7765
- Joined: Sun Apr 01, 2007 10:56 am
- Location: Redmond, WA
- Contact:
Re: Uniflite Salty Pup Refit
sweet! I should have you work on my dashboard, almost every dial no longer works.
- Bodofish
- Vice Admiral Three Stars
- Posts: 5407
- Joined: Sun Apr 29, 2007 12:59 pm
- Location: Woodinville
- Contact:
Re: Uniflite Salty Pup Refit
Take them out and bring them in the house. Get a bag of rice and a big Tupperware-ish container and put them in for a few days. After a good dry out you can usually just tap them lightly and get'em moving again. If you're really adventurous, open them up clean out any oxidation and or crud. You can then oil with the lightest and tiniest amount of oil on the pivots and put them back together. I would use the amount that would hang on the point of a straight pin, not a drop, just wet and I like the hot sauce oil for reels. With boats, moisture gets into everything.Mike Carey wrote:sweet! I should have you work on my dashboard, almost every dial no longer works.
Build a man a fire and he's warm for the night. Light a man on fire and he's warm the rest of his life!
- Gisteppo
- Commodore
- Posts: 1016
- Joined: Fri Jun 22, 2007 11:26 am
- Location: Lake Spokane (Long)
- Contact:
Re: Uniflite Salty Pup Refit
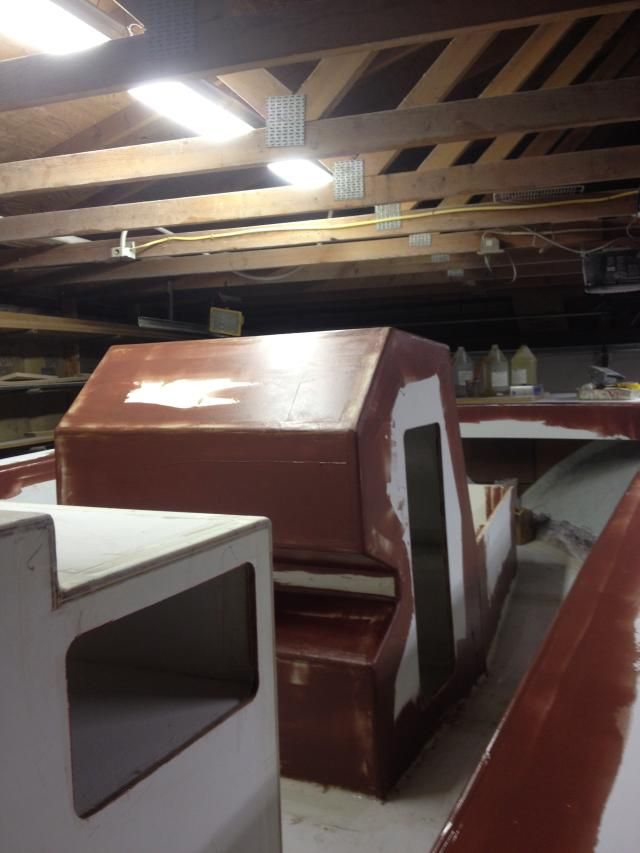
Speaking of terrible ideas, never create inside radii that require fairing. What a pain.
The interior is actually starting to look boat-like at this point, if you can believe that.
Fairing compound, first big pull on all the tape. For those that have done this, you know how much joy is about to ensue on the torture board.
Now we sand. And fill. And sand. And fill. And sand...
E
The interior is actually starting to look boat-like at this point, if you can believe that.
Fairing compound, first big pull on all the tape. For those that have done this, you know how much joy is about to ensue on the torture board.
Now we sand. And fill. And sand. And fill. And sand...
E
- Bodofish
- Vice Admiral Three Stars
- Posts: 5407
- Joined: Sun Apr 29, 2007 12:59 pm
- Location: Woodinville
- Contact:
Re: Uniflite Salty Pup Refit
Use a very light mist of scotch 90 (or 77) on the glass and lay down the tape in position and smooth it out and let the glue dry. Then stipple the resin in gently, the glue should hold it in place till the resin goes off. You can lay up multiple layers like that too. Just lay down all your glass and stipple in the resin.
Build a man a fire and he's warm for the night. Light a man on fire and he's warm the rest of his life!
- Gisteppo
- Commodore
- Posts: 1016
- Joined: Fri Jun 22, 2007 11:26 am
- Location: Lake Spokane (Long)
- Contact:
Re: Uniflite Salty Pup Refit
This is what 8 hours of work with the longboard and the sanders looks like:
This is a particularly uninteresting time, not only for those watching a thread like this, but also for the guy running the sandpaper devices. Fairing is a special sort of misery.
Hand sanded the roundovers yesterday, at least 3/4 of them because the little man woke up from his nap and it was time to go play in the snow.
Should have some decisions made on upholstery soon, knock out some more fairing, add a couple more lifts of mud to make her pretty smooth, and work on the little details next.
Also working out the plan for spatter paint on the interior sides of the hull and inside the compartments, as well as the hinge assemblies on the seat forward of the console.
Days are getting longer...
E
- Bodofish
- Vice Admiral Three Stars
- Posts: 5407
- Joined: Sun Apr 29, 2007 12:59 pm
- Location: Woodinville
- Contact:
Re: Uniflite Salty Pup Refit
Soooooooooo much sanding.......... It's either good therapy or you'll need some serious therapy. Either way the outcome is good. Sweet boat and getting closer all the time. I love laying up the glass and the spraying the finish, the in between is pure pain for me.
Build a man a fire and he's warm for the night. Light a man on fire and he's warm the rest of his life!