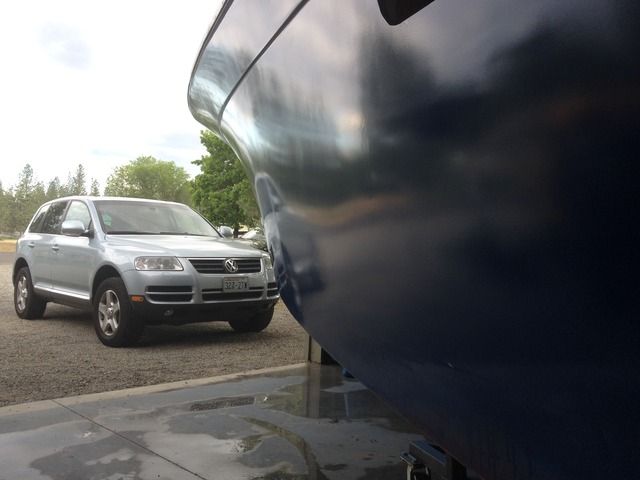
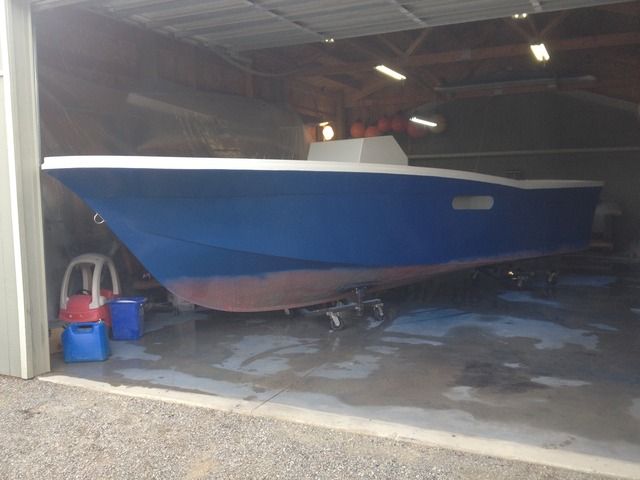
Uniflite Salty Pup Refit
- Gisteppo
- Commodore
- Posts: 1016
- Joined: Fri Jun 22, 2007 11:26 am
- Location: Lake Spokane (Long)
- Contact:
Re: Uniflite Salty Pup Refit
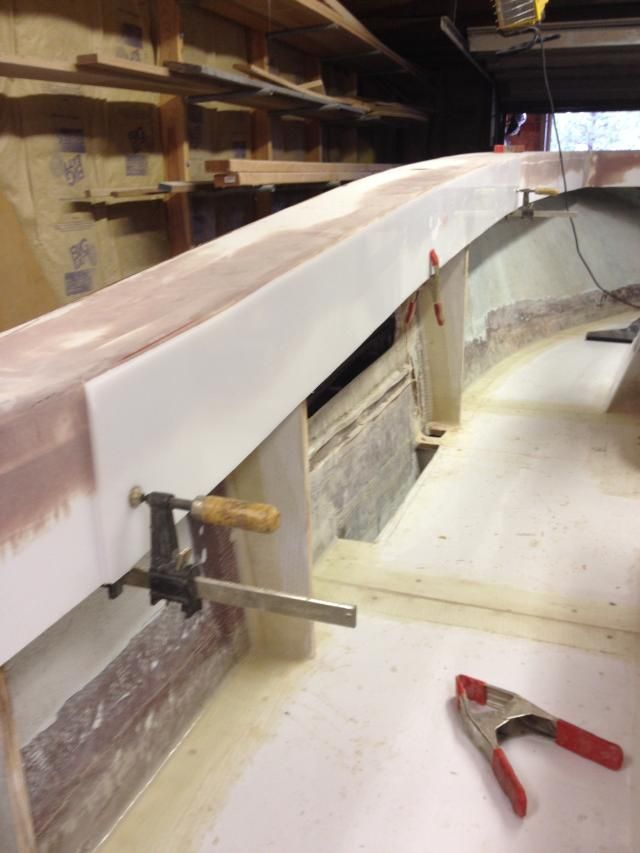
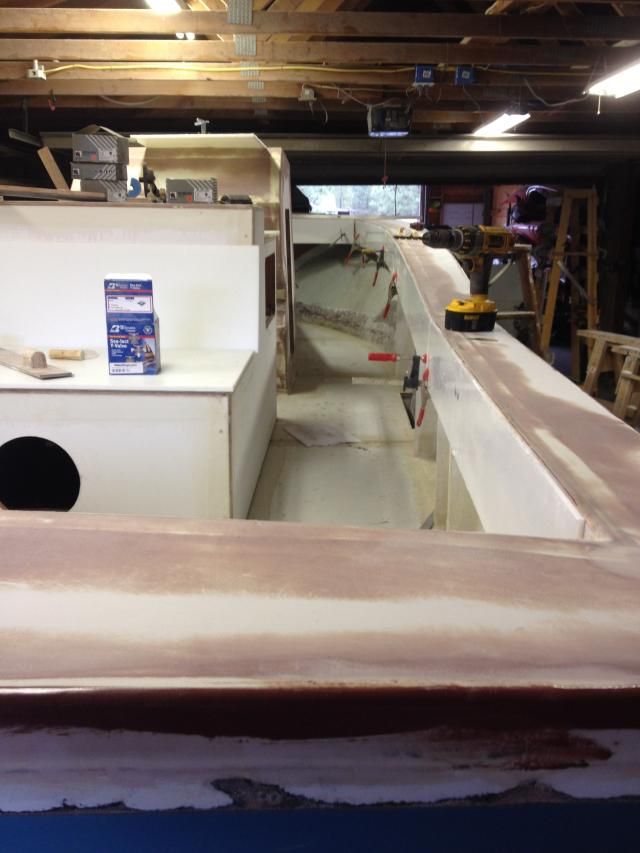
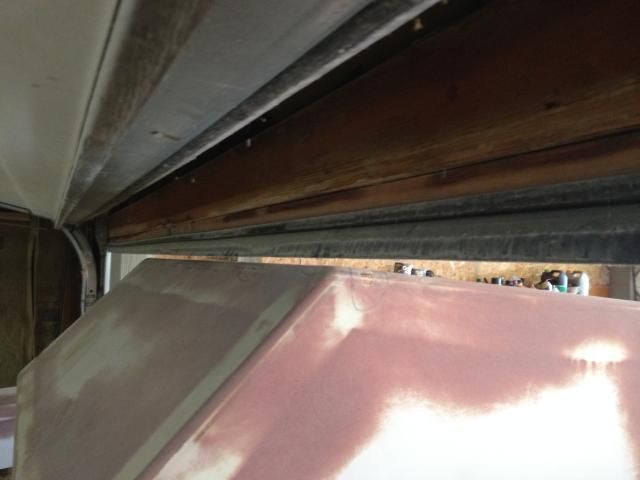
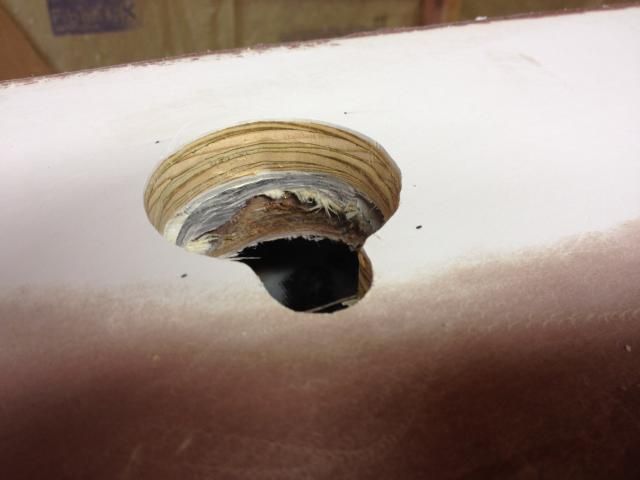
First things first. Anyone complaining about plywood in boats needs to look *closely* at this photo:
You can see the new ply core in the fibertech I built the decks with. Below it is the plywood coring of the old toe rail on the original boat. 100% solid, not soft, perfectly dry. Wood isn't the problem, shoddy lamination and detail work in new boats is the issue.
Okay, setting that soapbox aside...
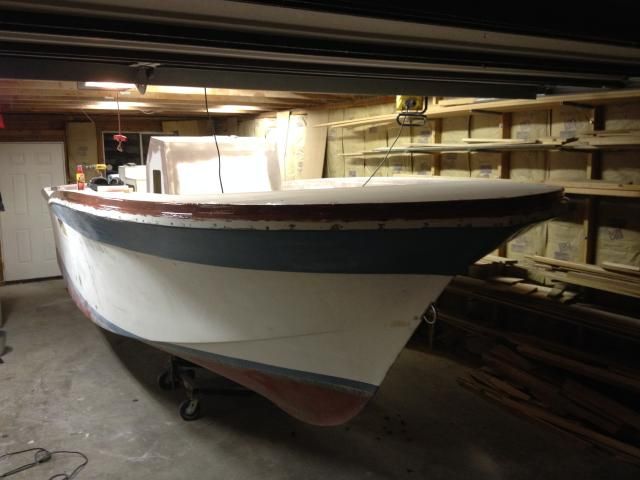
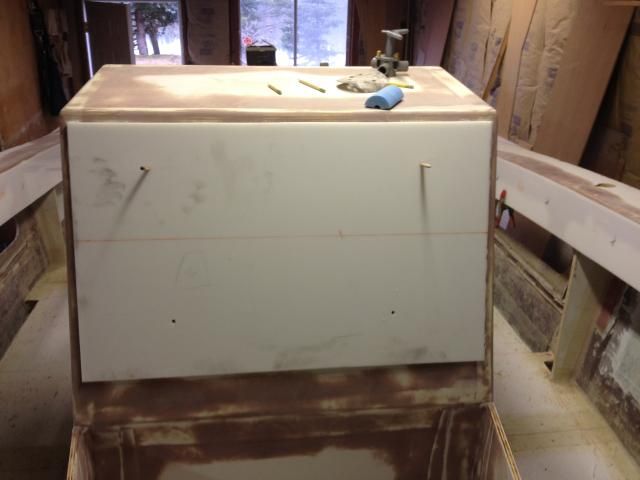
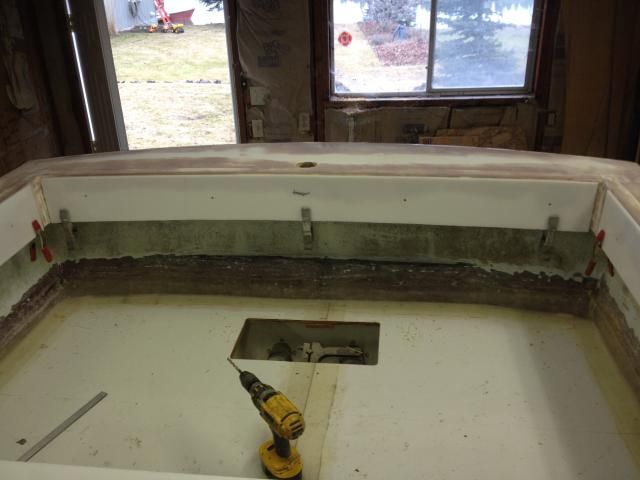
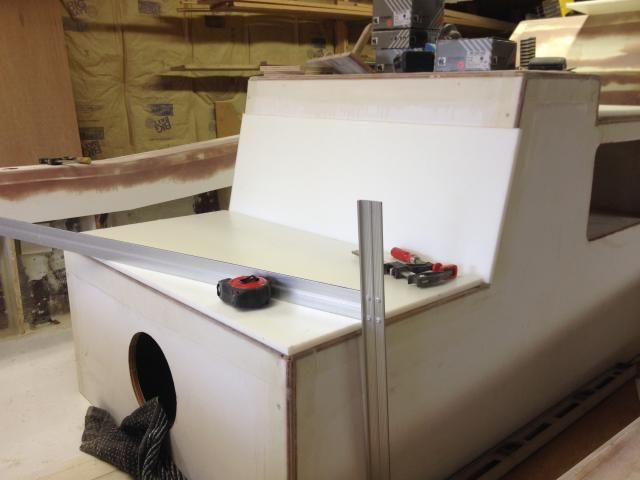
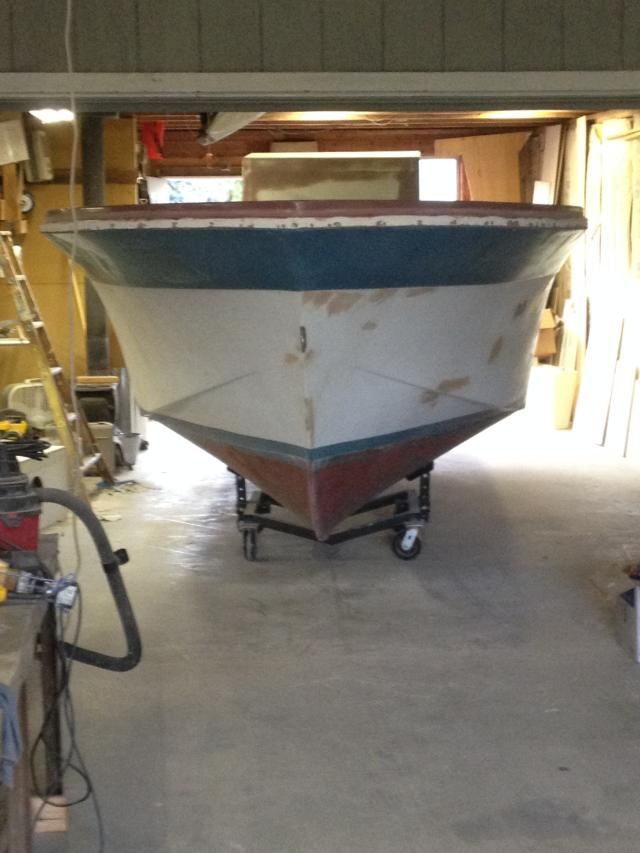
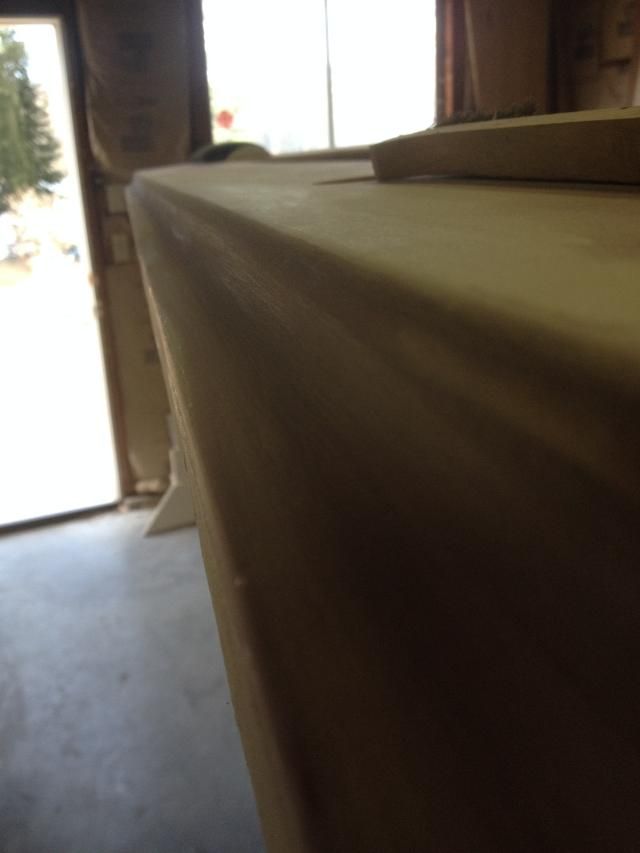
Note how similar the next two photos are to the last post. Never mind that there's a solid 8 hours of torture board sanding in there. Looks the same after a ton of labor. I hate fairing.
Ehh, at least she's starting to feel really nice. Not looking forward to fairing out that inward radius on the rail. No idea how that's going to look when it is done.
Unfortunately have some schedule issues with getting in the shop for the next week. However scheduling up some time and materials for the upholsterer to get cracking, so at least there's something cool in the hopper.
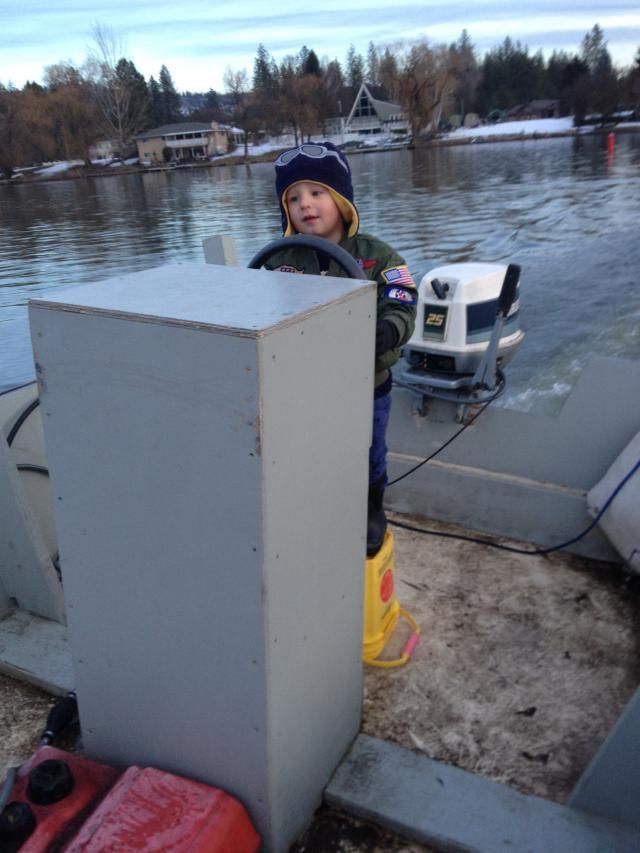
Got the skiff back in the water. I was the mate today, handed over the helm to the little Captain;
E
- Gisteppo
- Commodore
- Posts: 1016
- Joined: Fri Jun 22, 2007 11:26 am
- Location: Lake Spokane (Long)
- Contact:
Re: Uniflite Salty Pup Refit
So here's a somewhat out-of-sequence update.
Because of time of year, the upholstery shops are working cheap, so I decided to get the ball rolling on upholstery before I get the fairing and paint done. General shapes are already set, no interior structure is going to change, so it was time to save some bucks.
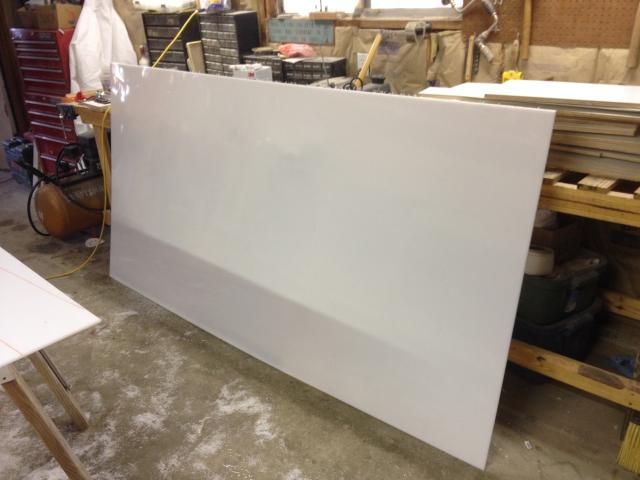
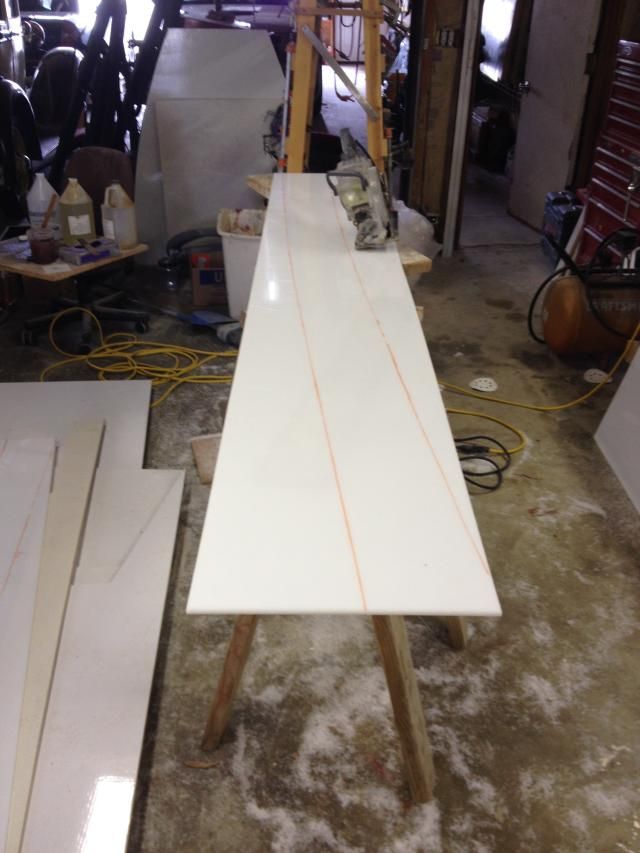
Went out and picked up some HDPE. 1/4" natural for the bolsters, 1/2" textured for the seats:
Of course it's right back to getting all the curves spot on:
That'll do:
Decided to do the setup with through-bolting using stainless tee nuts in the HDPE and stainless bolts through the various parts of the boat they attach to. The holes in the boat will be coated with epoxy, then bedded in a non-adhesive bedding for protection.
Full 360 degree bolsters will save knees and thighs when moving around the boat.
There will be no rotting of seating parts in this boat. Also, there's a bunch of cutting board material laying around in my shop now to make other random bits.
Pretty stoked to see how this all turns out:
The upholstery is an off-white with raised trim in a carbon-fiber-like print, light metallic silver and black. Local shop is knocking out the work, and had everything in stock. No pre-fab stuff in this boat, it's all custom so far.
Back to more fairing this week, hoping to have her nearing primer by March and rigging in April.
E
- Gisteppo
- Commodore
- Posts: 1016
- Joined: Fri Jun 22, 2007 11:26 am
- Location: Lake Spokane (Long)
- Contact:
Re: Uniflite Salty Pup Refit
Sorry for the little delay. Turns out I wasn't in the shop during that time either, so you didn't miss much...
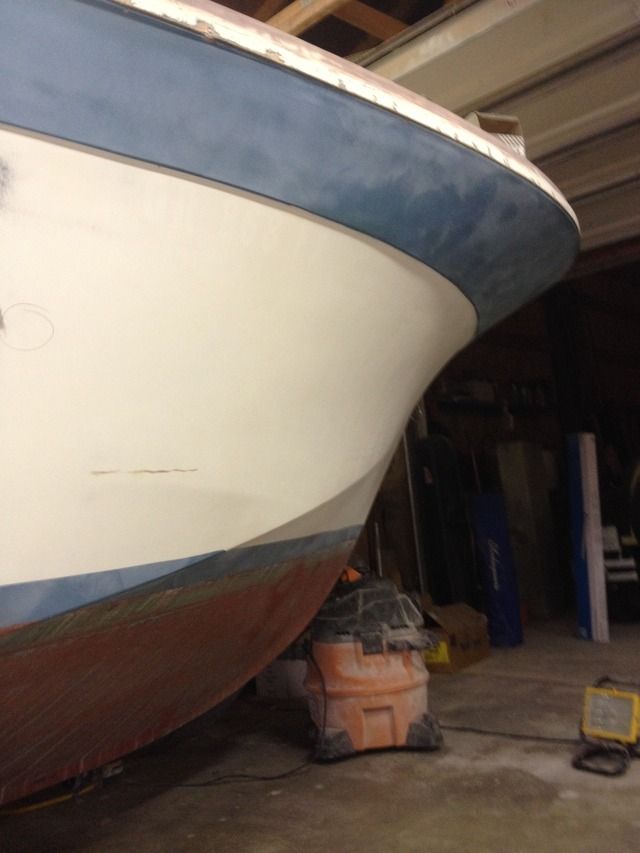
No, it's not a rash, just the continuation of the fairing process. Got to start smoothing away her age a little to make things right.
Never again. Never will I do an inside radius fillet that has to be faired. Never!
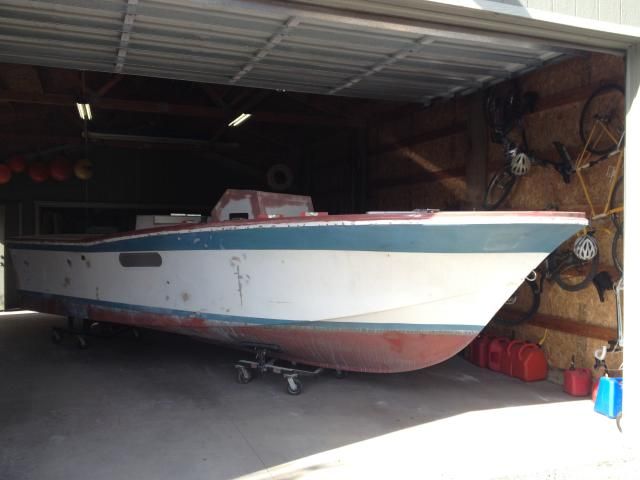
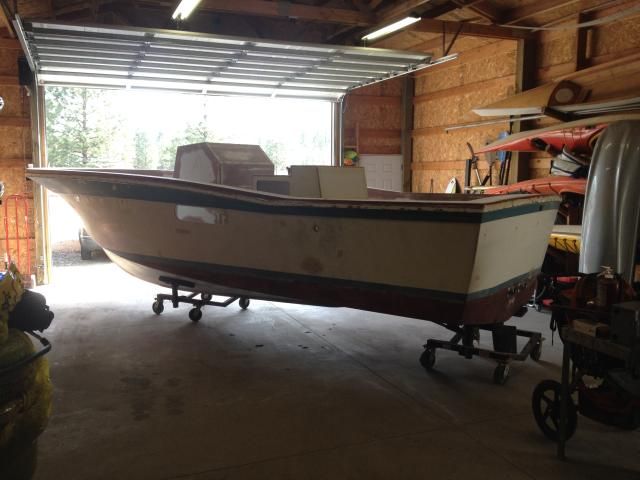
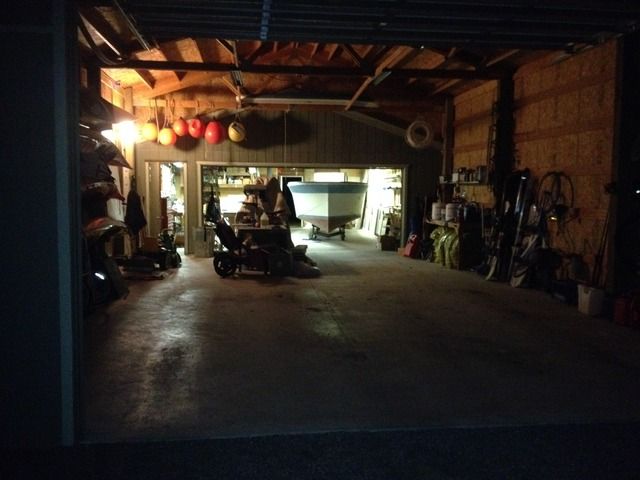
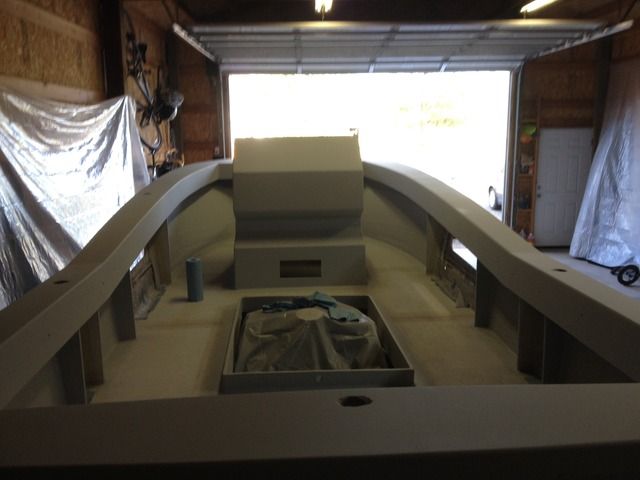
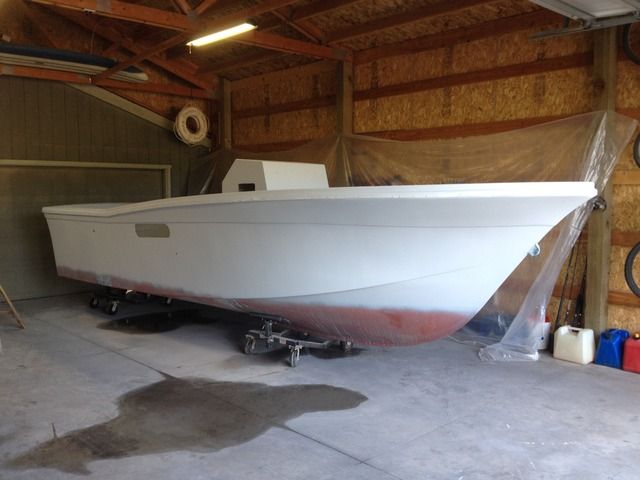
Since all of the material was off the floor, I slid her out into the garage and gave her a good once-over for fairness. After all the measuring and hoping and fretting whether I got it right, here's the verdict, and by that I mean will it get out of the shop?
Not by much! Getting her out let's us all see her lines a little better though, and what a pretty boat she is.
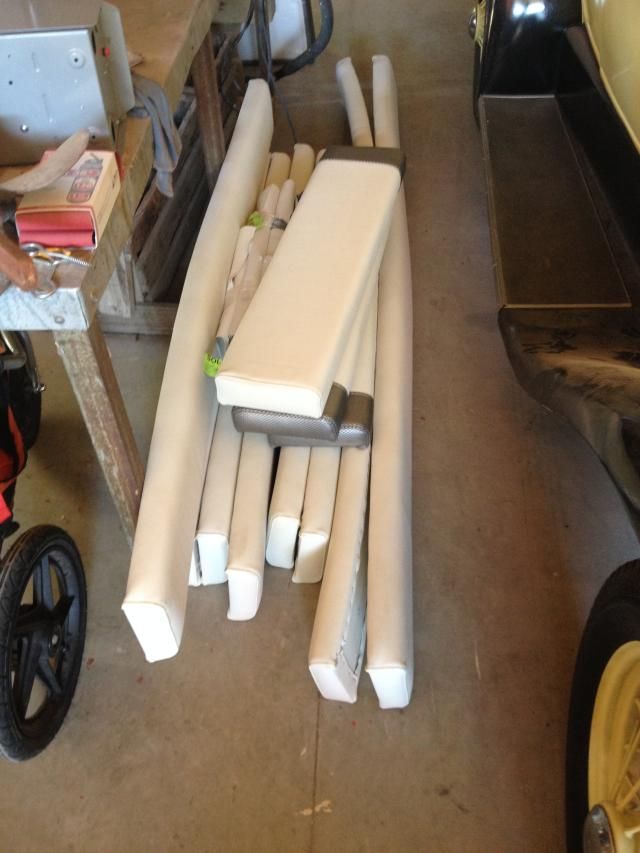
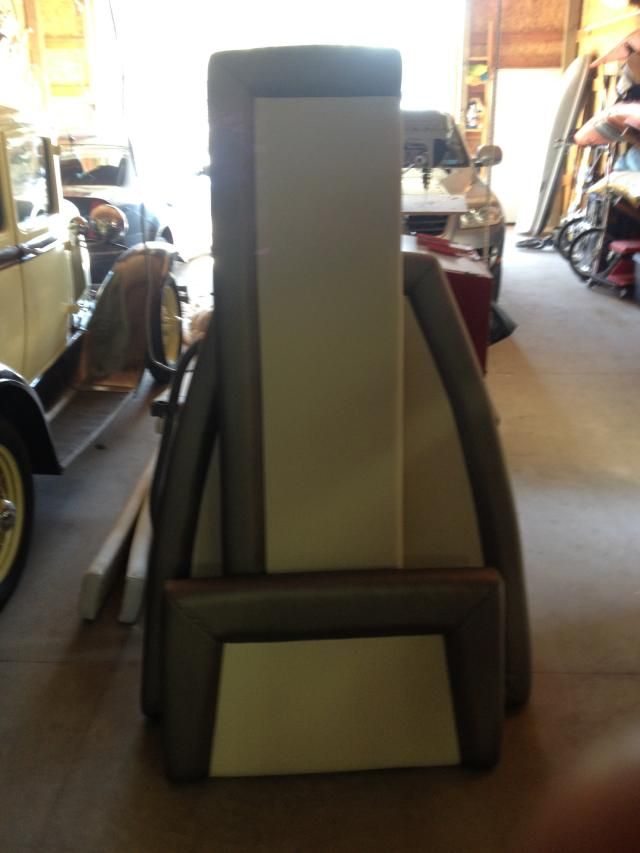
Neat sidebar, my upholstery shop got all the seats and bolsters complete. Here's the finished products in a big heap on the floor:
Benches and seatbacks:
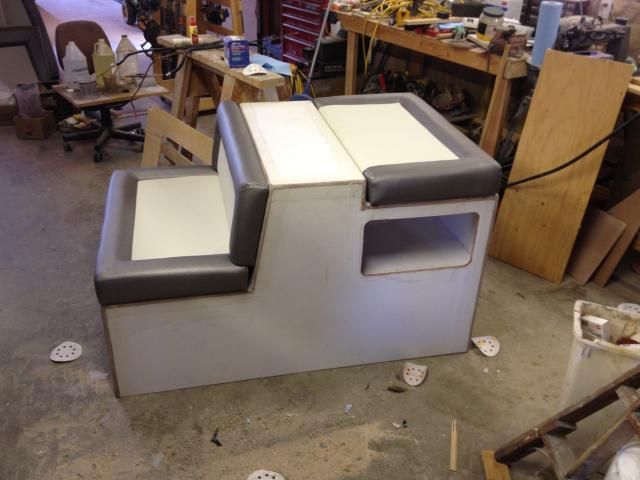
And mocked up on the console so you can make sense of it all.
Great job, and less than $4k including all materials and labor.
Next up, more fairing, and hopefully some primer soon. Oh, and if you thought she looked good from the angle above, check her out from the rear quarter...
E
- Bodofish
- Vice Admiral Three Stars
- Posts: 5407
- Joined: Sun Apr 29, 2007 12:59 pm
- Location: Woodinville
- Contact:
Re: Uniflite Salty Pup Refit
You just have to really excited! I know I am!
Build a man a fire and he's warm for the night. Light a man on fire and he's warm the rest of his life!
- hewesfisher
- Admiral
- Posts: 1886
- Joined: Sat Apr 28, 2007 8:20 am
- Location: Spangle, WA
Re: Uniflite Salty Pup Refit
Love the sanding discs on the floor, looks like the floor in my shop when I'm "busy".
Phil
'09 Hewescraft 20' ProV
150hp Merc Optimax
8hp Merc 4-stroke
Raymarine DS600X HD Sounder
Raymarine a78 MultiFunctionDisplay
Raymarine DownVision
Raymarine SideVision
Baystar Hydraulic Steering
Trollmaster Pro II
Traxstech Fishing System
MotorGuide 75# Thrust Wireless Bow Mount
'09 Hewescraft 20' ProV
150hp Merc Optimax
8hp Merc 4-stroke
Raymarine DS600X HD Sounder
Raymarine a78 MultiFunctionDisplay
Raymarine DownVision
Raymarine SideVision
Baystar Hydraulic Steering
Trollmaster Pro II
Traxstech Fishing System
MotorGuide 75# Thrust Wireless Bow Mount
- Gisteppo
- Commodore
- Posts: 1016
- Joined: Fri Jun 22, 2007 11:26 am
- Location: Lake Spokane (Long)
- Contact:
Re: Uniflite Salty Pup Refit
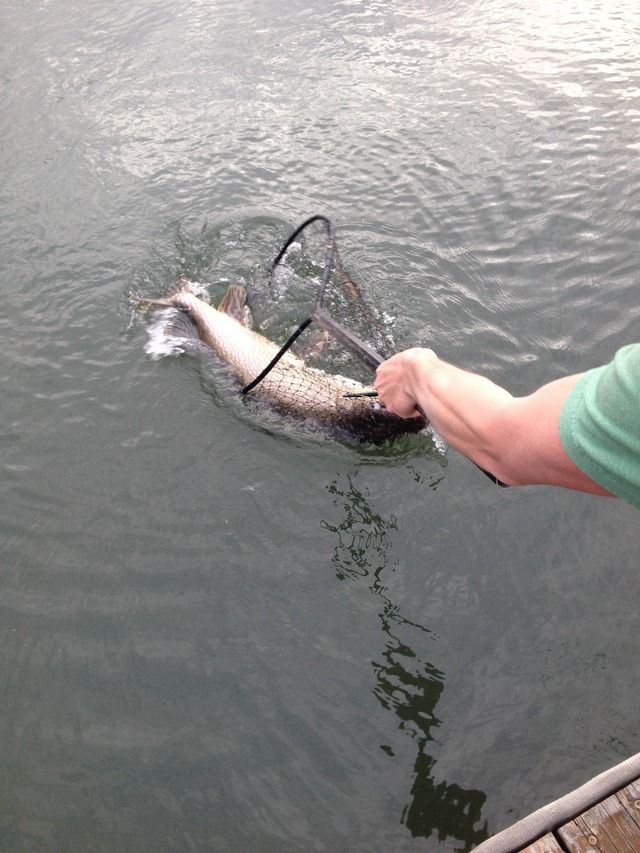
So the wife, kid, and Grams are all out in the back yard, and they say 'hey why don't you try fishing?' This being the early season, there's little to be had off the dock, but the runt does like to cast a line, so why not, right? Last cast of the day, hook the bottom, or what I thought was the bottom:
Turns out it was a 20ish pound Northern Pike. On a 5lb bass rod. With 8lb line... Nice start to the fishing season!
Also I've been in the shop for about 10 hours of fairing work. I'd take pictures of it, but it all looks the same, yet again. I'm bored of fairing it, you've gotta be bored reading about it.
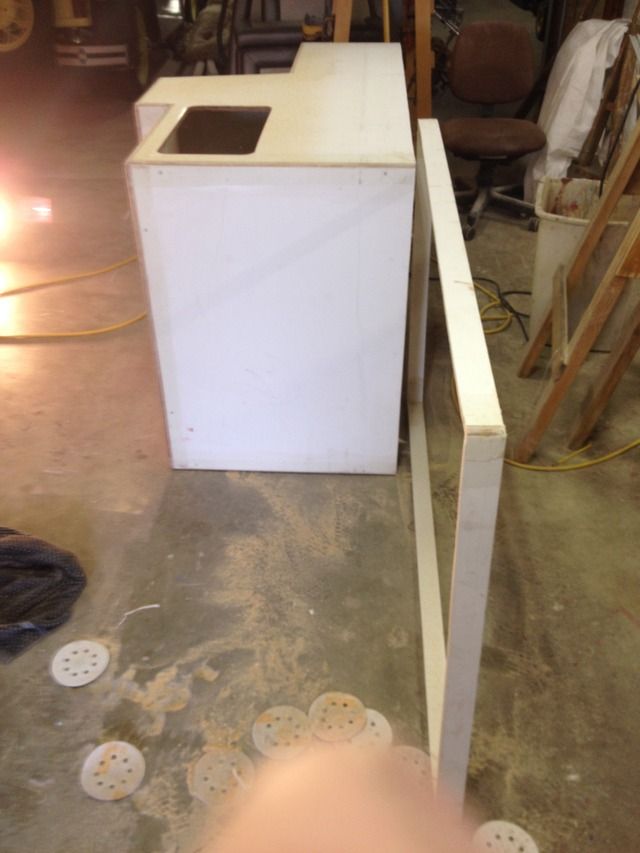
Once the upholstery returned, I found that the engine box height, coupled with the foam thickness, ended up a little too high. So off came two inches.
While it was easy to mess with, on went fairing compound. Ugh.
Also, did you know that running a random orbit sander over your head on Carolina Flare not only sucks, but is a remarkably good workout?
Paint gun should be here tomorrow or the next day, paint and primer just after that. Hoping the primer fills some of the 40 grit swirls that the 120 grit paper didn't pick up.
E
- The Quadfather
- Rear Admiral One Star
- Posts: 3868
- Joined: Tue May 08, 2007 2:27 pm
- Location: Carkeek Park, North Seattle
- Contact:
Re: Uniflite Salty Pup Refit
Gisteppo,
" I'm bored of fairing it, you've gotta be bored reading about it. "
Just letting you know.. some people do read this, and follow it closely.
Keep it up!
" I'm bored of fairing it, you've gotta be bored reading about it. "
Just letting you know.. some people do read this, and follow it closely.
Keep it up!
- Gisteppo
- Commodore
- Posts: 1016
- Joined: Fri Jun 22, 2007 11:26 am
- Location: Lake Spokane (Long)
- Contact:
Re: Uniflite Salty Pup Refit
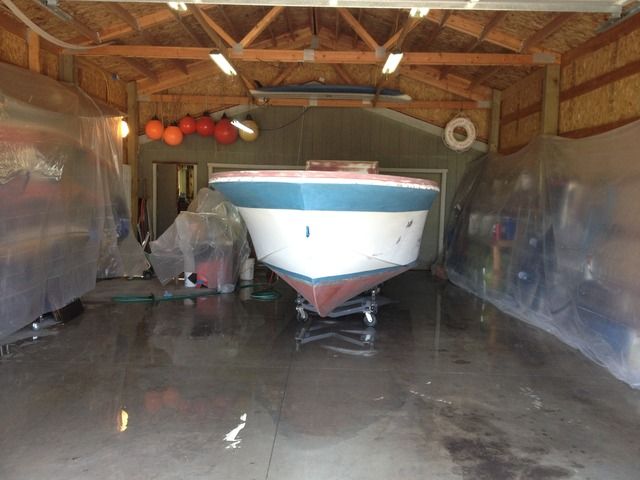
Phase change #1. For scale, that's a normal 2 car garage door that the boat barely fits under.
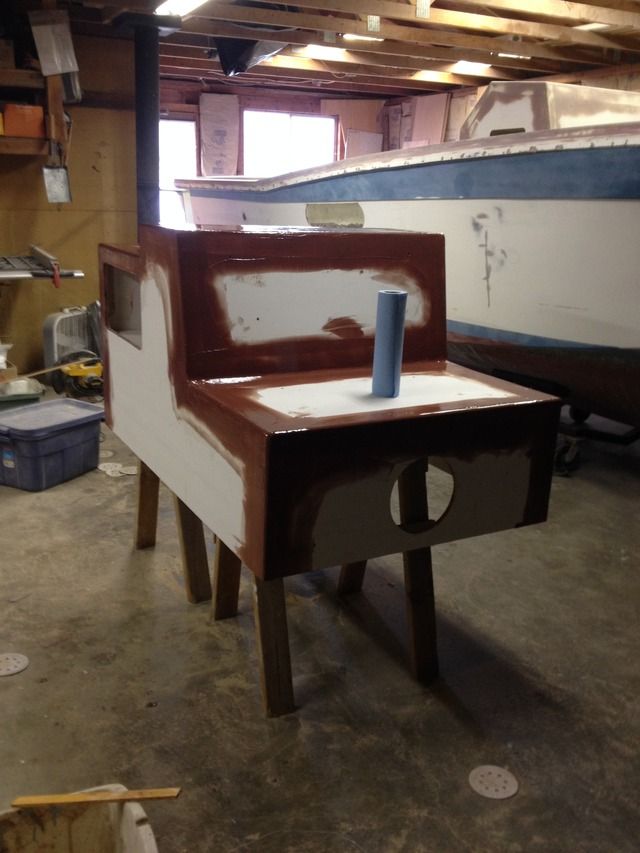
No, this is not the set of a new Dexter movie, this is the makeshift paint booth. You can see the glamorous 3.5 mil plastic making sure everything else doesn't end up with primer on it.
The reason the floor is wet is twofold. One, it's an awesome dust deterrent. Two, I'm using System 3 products, and they really like humidity (a commodity we are short on over here in Spokane).
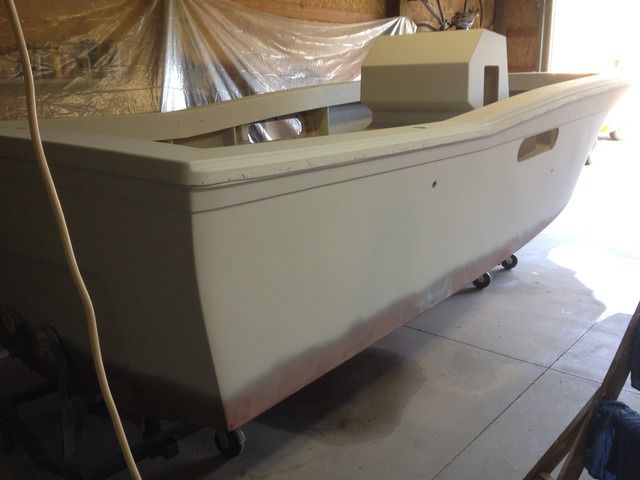
Unfortunately two gallons didn't get the job done, so I'm waiting on a gallon from Fisheries Supply due tomorrow. However, here she is in two coats:
Dark photo, but the console got a third coat with the remaining pint in the can. Also, in solid color, this thing got HUGE.
The hide on the System Three primer is pretty impressive. The blue bootstripe is gone. Also, the blue in the sheer break is gone, but there's a little shadow in the overhang in the photo that makes it look darker. When in person, you can't see any difference.
One more coat of primer for decks and hull, then final sand, then paint...
E
- hewesfisher
- Admiral
- Posts: 1886
- Joined: Sat Apr 28, 2007 8:20 am
- Location: Spangle, WA
Re: Uniflite Salty Pup Refit
Funny, you're "fairing" your boat and I'm "blocking" a customer's car. Like I tell him, I could send you pictures but there's nothing to see. No way to send pictures of the HOURS and HOURS of meticulous sanding which are only appreciated after the final coat of clear is laid down.The Quadfather wrote:Gisteppo,
" I'm bored of fairing it, you've gotta be bored reading about it. "
Just letting you know.. some people do read this, and follow it closely.
Keep it up!
Here's a teaser...
I know first hand what it's like to lay on your back and block filler and surfacer over head, you're right, it really sucks.
Looking forward to your next installment.
Phil
'09 Hewescraft 20' ProV
150hp Merc Optimax
8hp Merc 4-stroke
Raymarine DS600X HD Sounder
Raymarine a78 MultiFunctionDisplay
Raymarine DownVision
Raymarine SideVision
Baystar Hydraulic Steering
Trollmaster Pro II
Traxstech Fishing System
MotorGuide 75# Thrust Wireless Bow Mount
'09 Hewescraft 20' ProV
150hp Merc Optimax
8hp Merc 4-stroke
Raymarine DS600X HD Sounder
Raymarine a78 MultiFunctionDisplay
Raymarine DownVision
Raymarine SideVision
Baystar Hydraulic Steering
Trollmaster Pro II
Traxstech Fishing System
MotorGuide 75# Thrust Wireless Bow Mount
Re: Uniflite Salty Pup Refit
I love the lines on that boat. You're doing an awesome job. Keep us posted!
- Gisteppo
- Commodore
- Posts: 1016
- Joined: Fri Jun 22, 2007 11:26 am
- Location: Lake Spokane (Long)
- Contact:
Re: Uniflite Salty Pup Refit
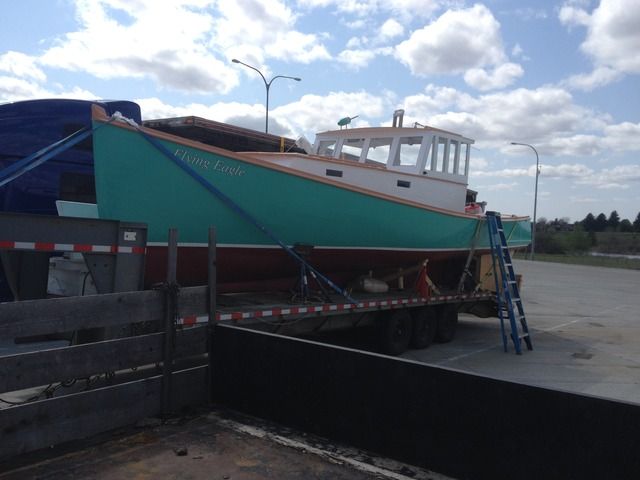
So I have this cool picture of an older lobstah boat making its way over from Belfast ME that I took today:
Obviously something we don't see on our coast much, if at all. Sweet lines, even though there's a funny little knuckle amidships before the run. However, he said it goes like stink with the 455 Olds in it.
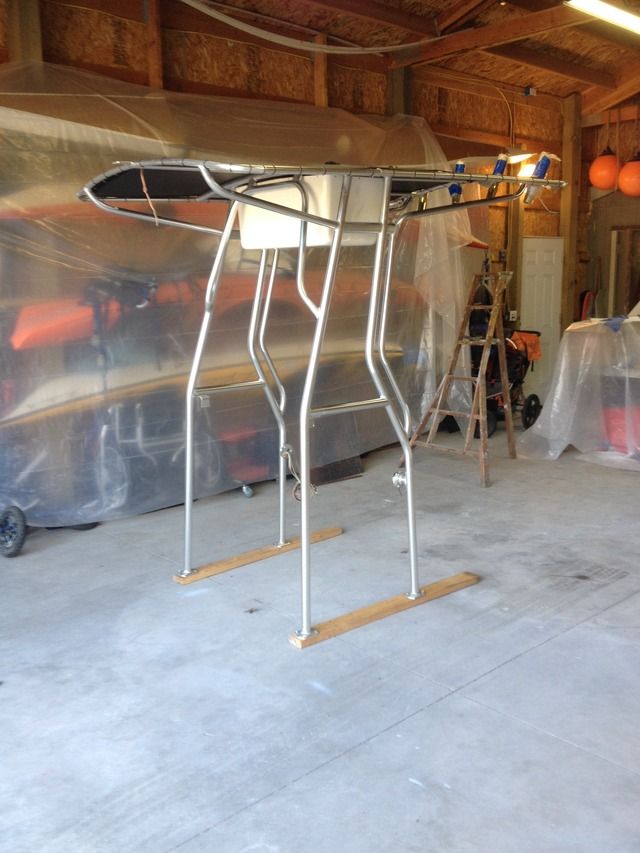
Why did I post this photo? Because the shipper had a present for the Pup...
With just a few little mods to it, this will fit quite dandy...
E
- Bodofish
- Vice Admiral Three Stars
- Posts: 5407
- Joined: Sun Apr 29, 2007 12:59 pm
- Location: Woodinville
- Contact:
Re: Uniflite Salty Pup Refit
Nice!!! Baby steps and she's done!
Build a man a fire and he's warm for the night. Light a man on fire and he's warm the rest of his life!
- Gisteppo
- Commodore
- Posts: 1016
- Joined: Fri Jun 22, 2007 11:26 am
- Location: Lake Spokane (Long)
- Contact:
Re: Uniflite Salty Pup Refit
Ups and downs in this one.
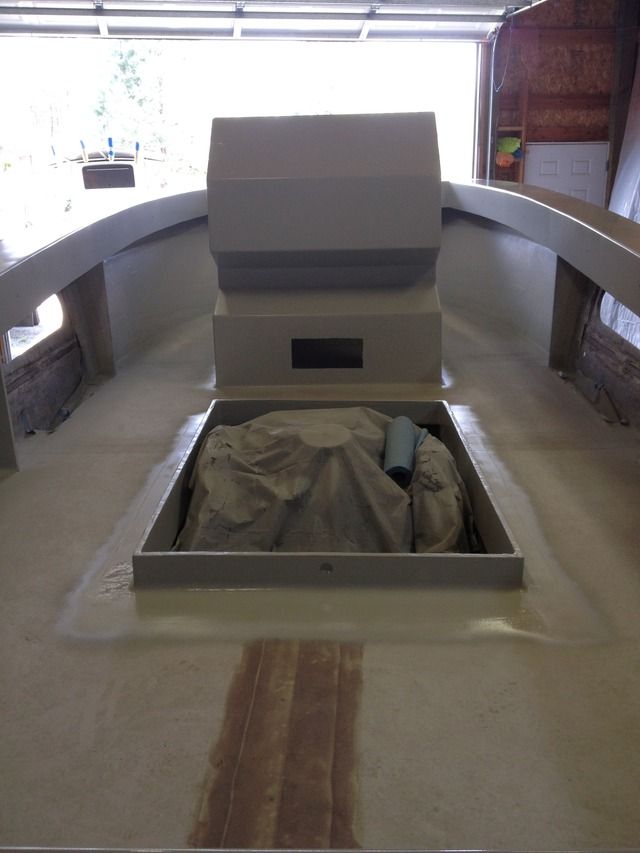
Got her in the makeshift booth for the paint. Skirt on, the interior went reasonably well:
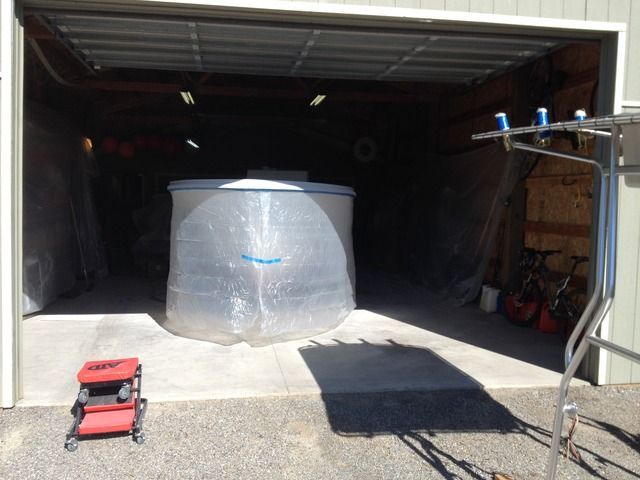
It was a bit dry, so it didn't level perfectly (system three paints love humidity), but it's decent and there will be lots of nonskid going down in the future.
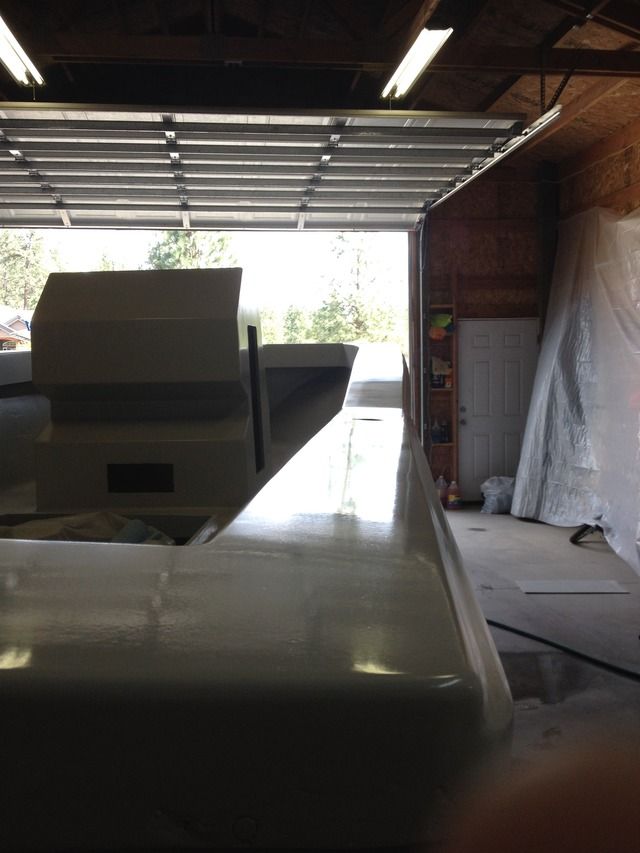
Pretty pleasing grey color, and I intend to spatter the hull sides, but not entirely sure if that's the right way to go yet or not.
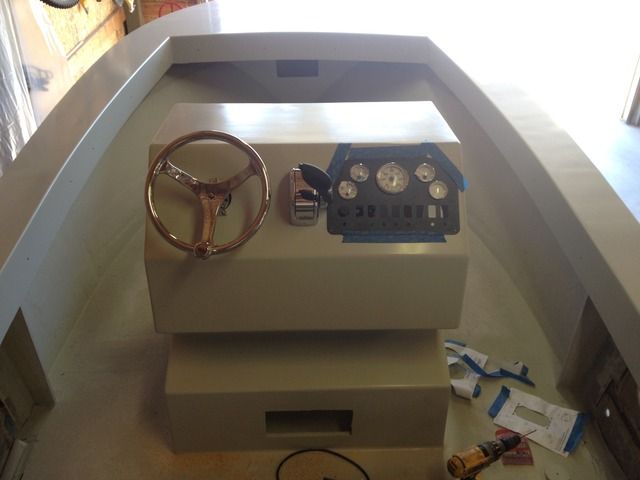
Waiting for weather (remember the humidity?), I puttered around with rigging some bits in. The ridiculously expensive Edson steering wheel feels like it'll be worth it.
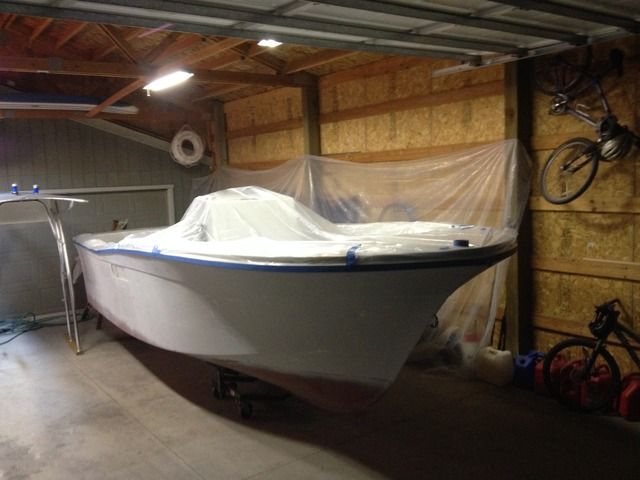
Now we get her taped up and ready to party!
*Perfect* weather, consistent rain all day, 60F high temps. The 3 coats of color lay down like a DREAM:
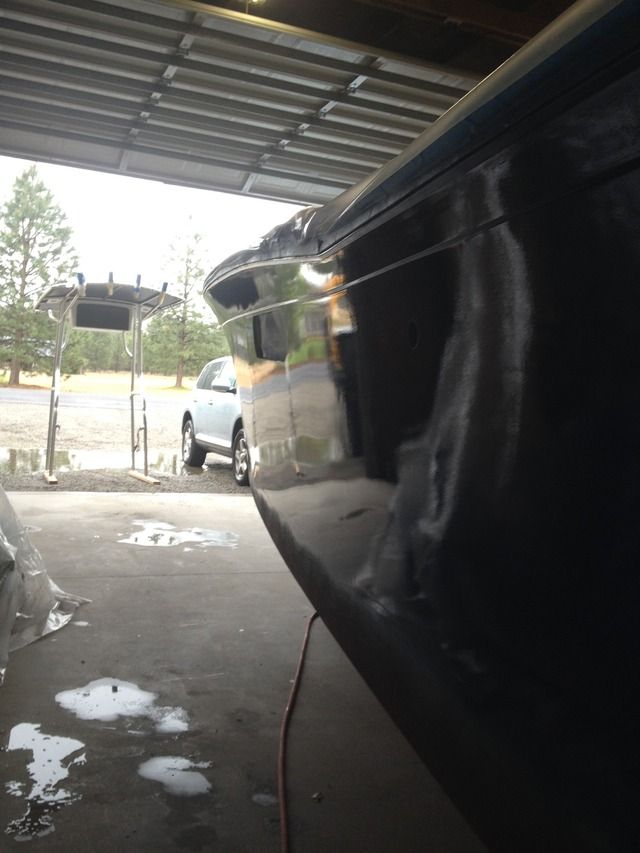
I'm happier than a kid in a tackle shop, this thing looks sweet.
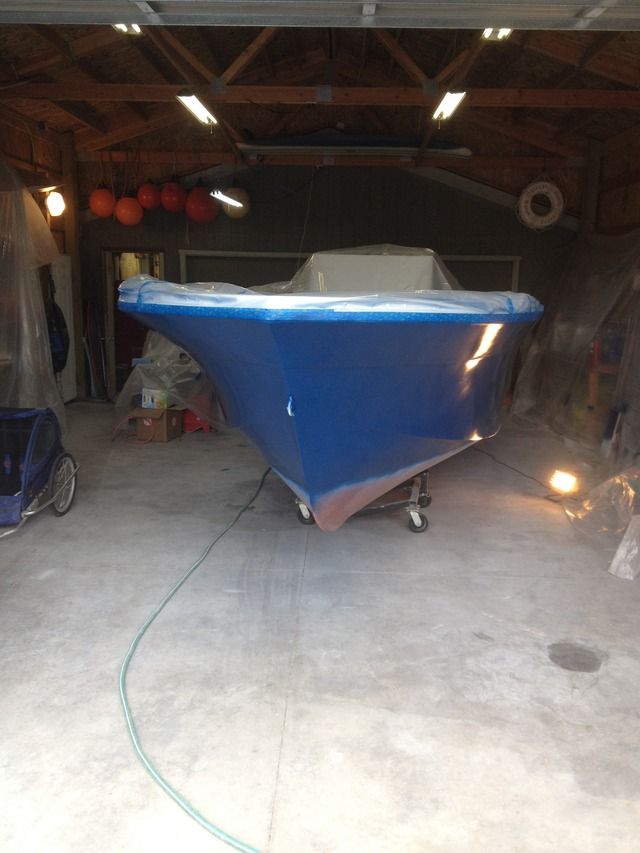
All that's left is a coat of clear, as the S3 paint doesn't stay particularly shiny unless you buff it. I lay down the clear, which is a bit of a challenge as there's no contrast when you paint it. S3 products go down without sanding, which is really convenient but hard to see your work. It goes down too heavy and sags horribly. Not orange peel, I mean SAG, drippy sag. I let it sit the rest of the day and try to put the sander to it. It goes somewhere between poor and mediocre, wrapping up at 0100.
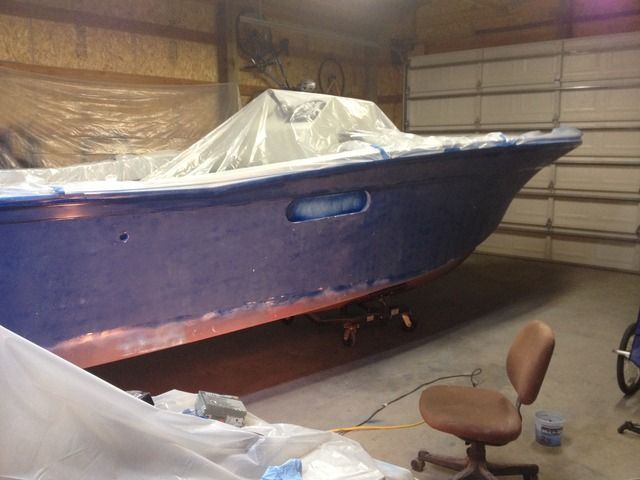
I'm hopeful this morning, so I bop out there at 0630 when the kid wakes me up. I lay down a coat of blue and it seems to lay down great. After it levels, all you can see is swirls and sanding marks. It's not going to bury in less than 10 coats of paint. I blew through the paint in a few places, which causes tears in this particular LPU. When you get a tear, it peels from the primer (weird, as it is really a good bond, it just hangs onto itself better than the primer). Given that I blew it out in several places, and the sanding looks horrible, the decision is made to pull the paint.
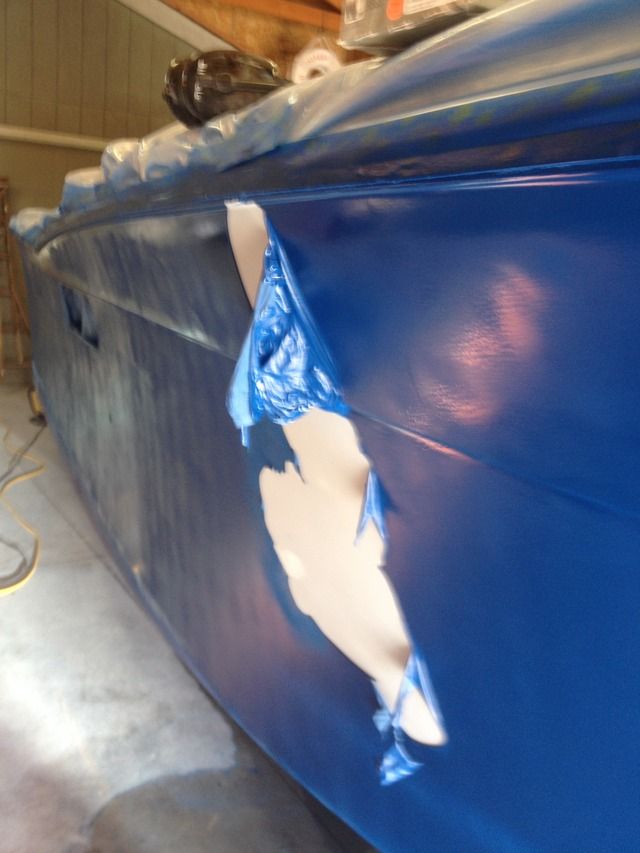
This, also, is a terrible idea because it requires a serious pressure washer to do, and mine is not impressive. 6 hours of labor later...
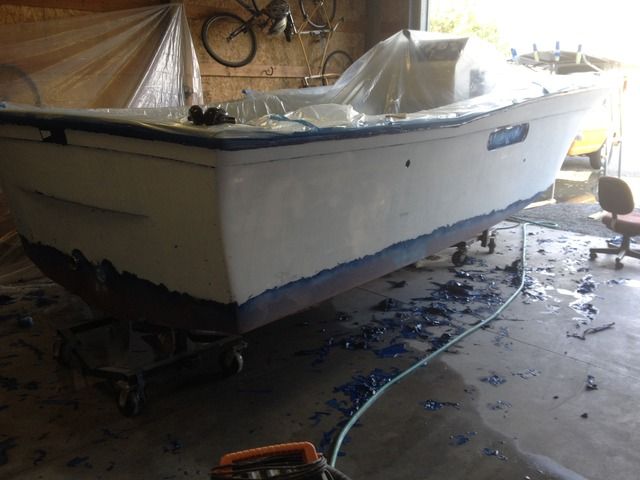
So here we are, 3 days of prepping and paint on the hull sides in the toilet. One more day of re-prepping, and another long day of painting 3-4 coats. You can bet that I'm skipping the clear coat this time.
Dejected and fed up with this project. A wise man once told me you have to hate a boat to finish it. With how much I hate this one right now, it should be done a couple months ago...
E
Re: Uniflite Salty Pup Refit
Oh man. You've been around the dark side of the moon. I know how disheartening a major set back like that can be. I wish you luck.
- hewesfisher
- Admiral
- Posts: 1886
- Joined: Sat Apr 28, 2007 8:20 am
- Location: Spangle, WA
Re: Uniflite Salty Pup Refit
Hurts to read this...
Phil
'09 Hewescraft 20' ProV
150hp Merc Optimax
8hp Merc 4-stroke
Raymarine DS600X HD Sounder
Raymarine a78 MultiFunctionDisplay
Raymarine DownVision
Raymarine SideVision
Baystar Hydraulic Steering
Trollmaster Pro II
Traxstech Fishing System
MotorGuide 75# Thrust Wireless Bow Mount
'09 Hewescraft 20' ProV
150hp Merc Optimax
8hp Merc 4-stroke
Raymarine DS600X HD Sounder
Raymarine a78 MultiFunctionDisplay
Raymarine DownVision
Raymarine SideVision
Baystar Hydraulic Steering
Trollmaster Pro II
Traxstech Fishing System
MotorGuide 75# Thrust Wireless Bow Mount
- Gisteppo
- Commodore
- Posts: 1016
- Joined: Fri Jun 22, 2007 11:26 am
- Location: Lake Spokane (Long)
- Contact:
Re: Uniflite Salty Pup Refit
I manhandled the conditions in the garage today, sealing it up, unloading a TON of water in there, and actually made it TOO HUMID for the paint, if you can believe that. It smoothed down TIGHT this time.
Coats 2 and 3 laid down a little better once I got the humidity ideal. It's nice to be on this end of it...
One thing to bear in mind is that it's a semi-gloss paint. It cuts and buffs to a gloss like gelcoat, however I probably will leave it a semi-gloss. I actually prefer it to a mirror finish because it lets the eye focus on the lines rather than the shine.
Bad lighting and camera angle, but you get the idea.
Back into the workshop now, complete the rigging, then a sea trial, off to the heliarc shop to get a couple fiddly bits ironed out on the T-top, and she's commissioned. The ball is now rolling again...
E
- Bodofish
- Vice Admiral Three Stars
- Posts: 5407
- Joined: Sun Apr 29, 2007 12:59 pm
- Location: Woodinville
- Contact:
Re: Uniflite Salty Pup Refit
Rock and Roll!!! I love the color! I'm totally excited for you! When you bring her West, I'd love to see her, please drop me a PM, I'd love to see you off into the wild blue. It's been a huge journey!!!!!!! I'm sure it will be worth every minute of time you spent and I'm totally jealous of you and for you, you get to say "It's mine! and I did all of it!".
Build a man a fire and he's warm for the night. Light a man on fire and he's warm the rest of his life!
-
- Angler
- Posts: 1
- Joined: Sun Jul 19, 2020 3:10 pm
Re: Uniflite Salty Pup Refit
Gentlemen my name is Jeff i'm new to all this i recently purchased a 1963 23' Uniflite Salty Pup with factory installed 360 cubic inch police Interceptor Engine and im trying to get Info on this combo if anyone can help me that would be wonderful . Im in San Diego 559 799 9214